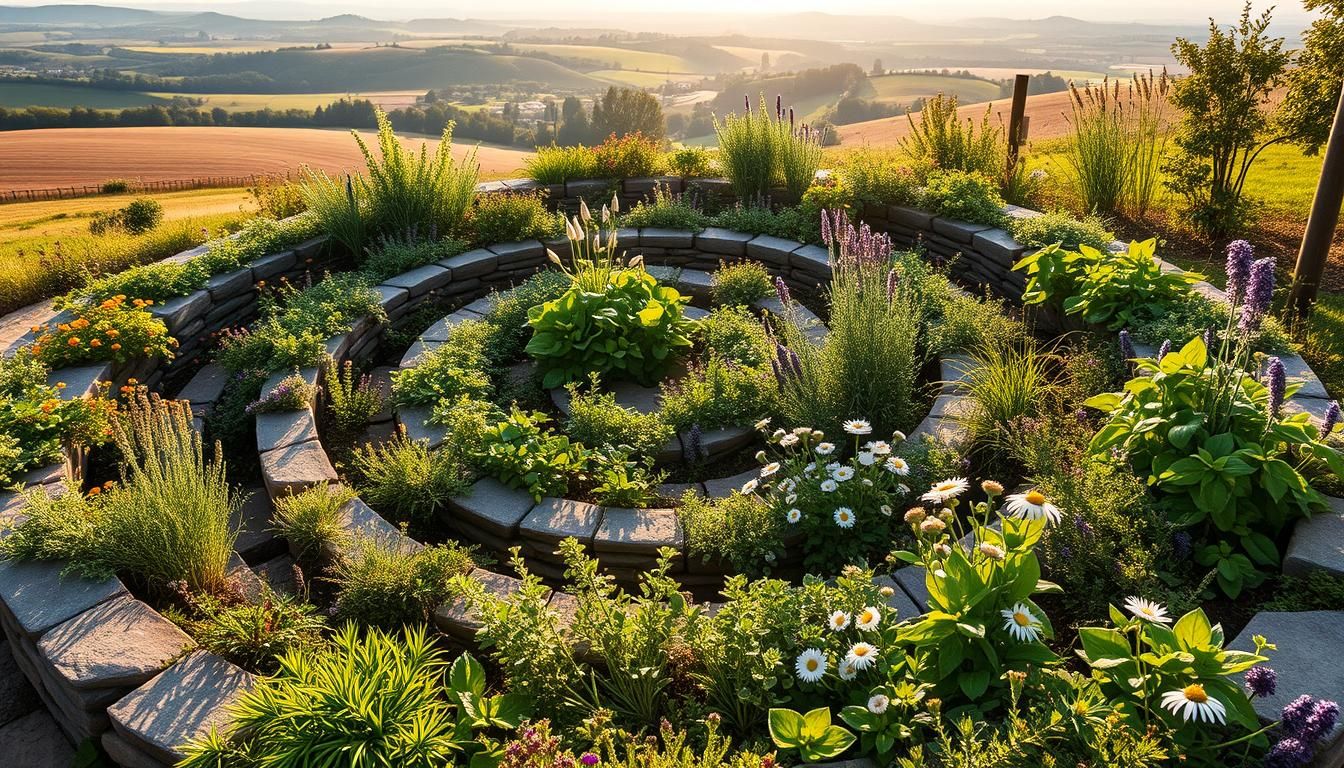
Surprising fact: a single compact mound can support up to 20 different plants in less than a 6-foot circle, turning a small yard into a culinary oasis.
Think of this as a sculpted garden that packs many herbs into minimal space while giving your yard a decorative focal point.
The basic concept is simple: build a winding mound with solid walls so the top stays dry and sunny and the base stays cool and moist. Most home builds sit around five to six feet across and rise to roughly two to three feet at the center. When you make sure the base has good drainage and use a 50-50 mix of soil and compost, plants establish quickly.
Use reclaimed bricks or seasoned wood for long-lasting structure and add a small pond on the shady side to boost wildlife. For step-by-step guidance and measured dimensions, see this practical guide on building an herb spiral.
Key Takeaways
- Compact mounds give you lots of flavor in a small garden area.
- Place the structure in full sun and sheltered from wind for best results.
- Aim for about 5–6 feet diameter and 23–40 inches tall with 1.5 ft planting gaps.
- Build solid walls with bricks or stones to prevent erosion.
- Fill with a 50/50 soil and compost mix, mulch 1–2 inches, and water in.
- Plant dry-loving herbs near the top and moisture lovers near the base.
Why Build a Herb Spiral in Your Garden Right Now
In one small, curved bed you get hot, dry zones and cool, moist pockets for different plants. That makes this feature ideal for backyard cooks and casual gardeners who want more flavor in less space.
Placed in a sunny spot near the house, the mound of bricks or stones soaks up heat by day and releases it at night. This thermal mass helps warmth-loving plants stay comfortable as conditions cool after sunset.

Compared with pots, a well-built spiral holds more soil, so you water less often. It also creates several microclimates in a compact footprint, letting you match plants to exact moisture and light needs.
- Maximize space: stack planting zones vertically and harvest a pantry of flavors without expanding your plot.
- Smart drainage: elevated slopes shed excess water, keeping Mediterranean types happy near the top.
- Easy learning: observe how sun, wind, and moisture affect different plants in one concentrated area.
Start now and you’ll have established roots and vigorous growth by the main season. People notice the curves, and it quickly becomes a favorite feature for guests and family.
Planning Herb Spiral Designs for Full Sun, Space, and Microclimates
Start by picking a sunny, sheltered spot within easy walking distance of your kitchen. This location makes daily harvesting simple and helps the mound warm quickly in good sun.
Choose the best place
Pick a site with full sun exposure and protection from strong winds. In the Northern Hemisphere, set the low end on the north side to keep the base cooler and moister.
Dial in size and shape
Target 5–6.5 feet across and 23–40 inches tall. Taller builds make stronger microclimates but can cast more shade in hot conditions.
Ground prep and drainage
Level the ground or terrace a slope first. Sheet mulch with cardboard over lawn to suppress weeds. If building over paving, drill to the soil below so water can escape.
- Outline with a center stake and string for a neat circle.
- Keep ~1.5 ft planting width between walls for easy access and healthy roots.
- Sketch your design and list plants by conditions: top = dry, middle = moderate, base = cool/wet.
| Item | Recommendation | Why it matters |
|---|---|---|
| Location | Sunny, wind-sheltered, near kitchen | Easier harvests and better heat for sun-loving plants |
| Size | 5–6.5 feet diameter | Room to plant and reach all zones |
| Height | 23–40 inches | Creates distinct microclimates for varied herbs |
| Ground prep | Level, cardboard over lawn, drill paving | Prevents weeds and ensures drainage |
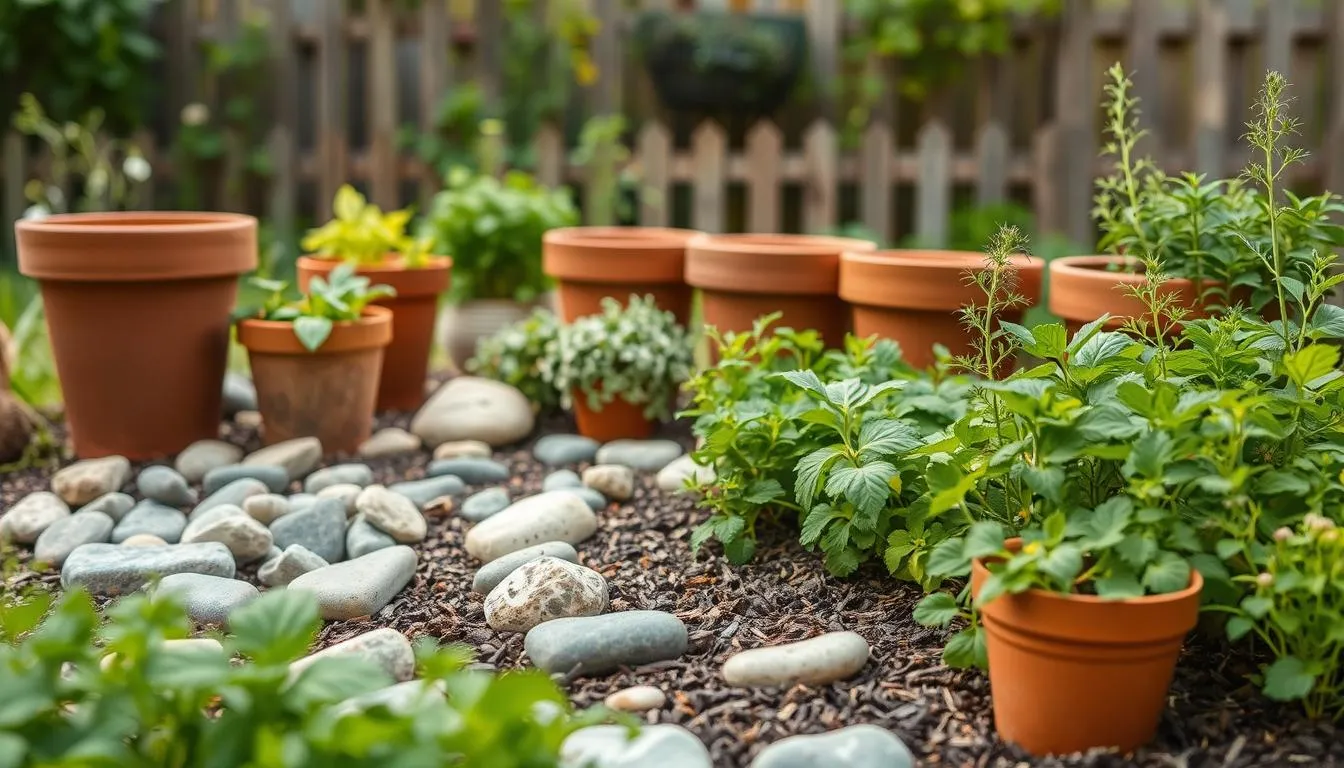
Materials, Tools, and Budget-Friendly Options
Choosing the right materials and tools makes the build faster and keeps costs low. Start by picking durable, non-toxic items that protect soil life and edible plants.
Walls and structure: Aim for roughly 125–150 reclaimed bricks for a 5-foot spiral. You can also use flat rock, round river stones, or seasoned wood that won’t leach chemicals. Keep extras on hand for center stability and adjustments.
Fill and finish: Use a 50-50 mix of topsoil and rich compost. Top with a 1–2 inch mulch layer of compost or straw to retain moisture and suppress weeds. Add one yearly compost layer to refresh nutrients.
“Reclaimed bricks save money and add character—often they can be found free or cheap from salvage yards.”
- Tools: gloves, tamper, rake, shovel, wheelbarrow, trowel, watering can.
- Safety: avoid treated lumber; choose seasoned wood or stone for long life.
- Budget: $0–$150 if you reclaim bricks or stones locally; prioritize structural integrity over looks.
| Item | Typical amount | Why it matters |
|---|---|---|
| Bricks | 125–150 | Stable wall, easy to stack, adds character |
| Soil mix | 50% topsoil / 50% compost | Feeds plants and holds moisture |
| Mulch | 1–2 inches | Reduces evaporation and weeds |
| Tools | Basic set | Saves time and prevents rework |
Stage materials near the build area to speed work. Test any purchased soil for nutrients and add organic fertilizer if needed. With careful sourcing, you can make a long-lasting, low-cost feature that serves your kitchen and yard.
How to Build a Herb Spiral Step by Step
Follow these hands-on steps to lay out and raise a compact, terraced mound that offers varied moisture and sun zones. The guide below emphasizes stable walls, practical fill methods, and simple checks so your feature lasts.. Herb spirals naturally create sensory garden zones for aromatic experiences
Outline the path
Use a center stake and string to mark the circle on level ground. Sketch the curved path and keep at least 12 inches of planting width throughout. You can outline with flour or a single row of bricks to visualize the curve.
Lay the first course
Set a single, level course of bricks on firm ground. Make sure the base is stable so later layers don’t wobble.
Stack and climb
Build upward by counting in 1.5–2.5 bricks at each new course and stagger joints for strength. A common build rises from one brick at the start to about seven at the center, reaching roughly 23–40 inches high and a 5–6.5 feet footprint.
Fill, shape, and finish
Backfill as you go with a 50/50 mix of soil and compost, stopping a couple inches below wall tops. Shape a gentle downward ramp to guide water from top to base, then add a 1–2 inch mulch layer and water thoroughly to settle the fill.
Optional base pond
Place the lowest opening on the north side in the Northern Hemisphere to keep the base cool and moist. Consider a tiny pond at the opening to add habitat and increase moisture in the lowest planting zone.
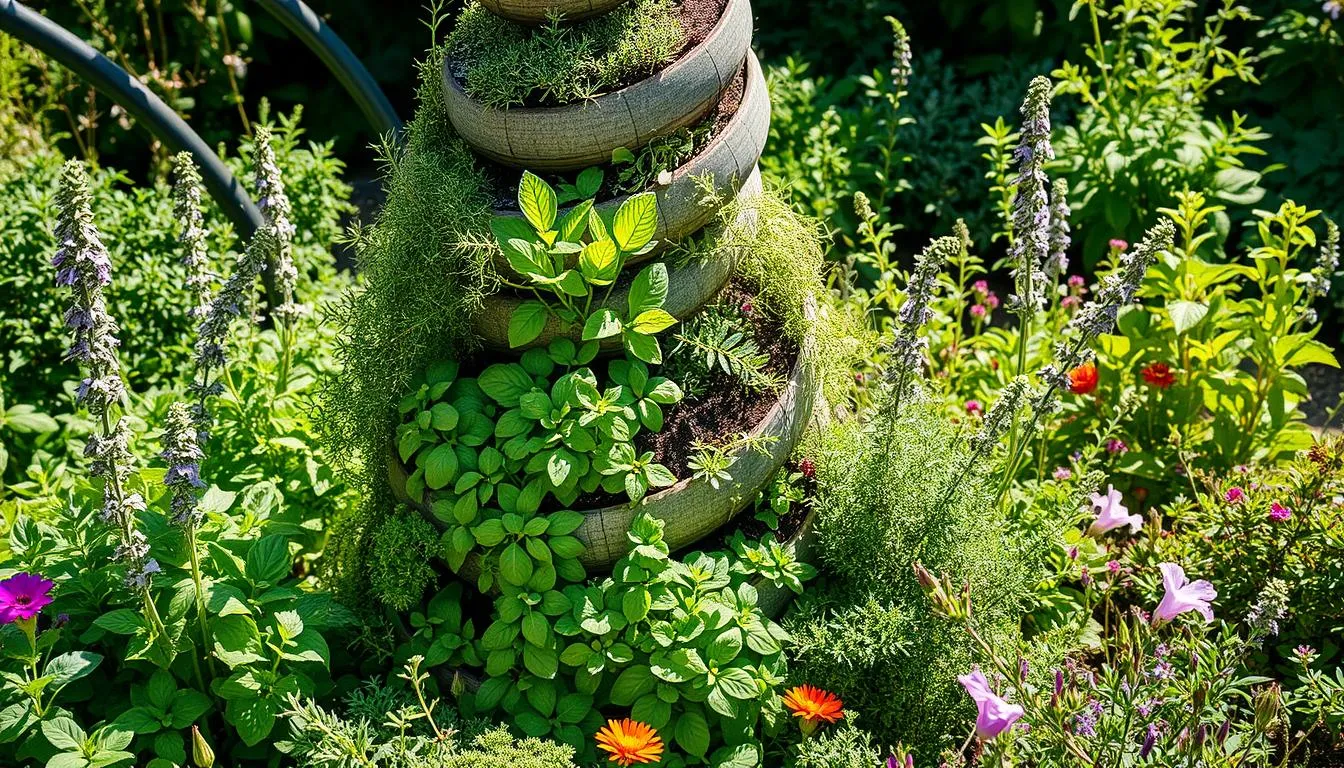
Planting Your Spiral: Which Herbs Go Where and Why
Think of the bed as a vertical map of microclimates—match plants to each zone. Place each one where light and moisture suit it best for healthy growth and easy harvests.
Top and sunny, drier soil
Top positions get the most heat and drain quickly. Put rosemary, thyme, sage, oregano, and tarragon here for full sun and lean soil.
Mid-level, morning sun and moderate moisture
Use the middle tier for basil, chives, and dill. These plants like moderate soil moisture and bright mornings. Stagger taller dill so it does not shade neighbors.
Lower, cooler, and moister
At the base, plant parsley and cilantro; they welcome cooler roots and extra humidity. If you add a small pond, water-edge plants do very well here.
Avoid invasives
“Keep mint family members out of the bed — they spread fast and overwhelm other plants.”
Grow mint, lemon balm, and similar varieties in containers or a separate, contained bed.
- Amend individual pockets with compost for better soil fertility.
- Check hardiness zones when you pick perennials and plan annuals to fill gaps.
- Leave enough spacing for airflow to reduce mildew and pest issues.
Maintenance and Yearly Care to Help Herbs Grow
A short maintenance routine each week prevents small issues from becoming big problems. Start with simple checks: soil moisture by finger, visible weeds, and any bricks that shifted after storms.
Watering, weeding, and mulching through the seasons
Water deeply but less often to encourage strong roots. The top dries faster than the base, so vary irrigation by zone.
Top up mulch to 1–2 inches after planting and again midseason to cut evaporation and suppress weeds. Patrol for weeds weekly until the canopy closes; early removal keeps work light the rest of the year.
Annual compost layer, minor brick adjustments, and replanting tender plants
Add a fresh compost layer once a year to rebuild soil and feed plants for the coming season.
Inspect walls after heavy rain or freeze cycles and nudge any loose bricks back into place. Replant tender annuals like basil each spring and replace winter-killed perennials as needed by zone.
- Prune woody varieties to encourage fresh growth and remove spent blooms.
- Check soil in each zone before watering and adjust based on moisture differences.
- Watch for pests; encourage beneficial insects and avoid broad-spectrum sprays.
- Keep a simple log of what thrives where to fine-tune plant placement and materials next year.
For seasonal planting tips and a full calendar to help your garden thrive through the year, see this practical seasonal guide for growing herbs.
Conclusion
A well-built mound can turn a tiny patch of lawn into a year-round kitchen resource and a striking focal point. Follow the simple formula: solid walls of reclaimed bricks or stone, a 50/50 soil and compost fill, and 1–2 inches of mulch for moisture control.
Aim for about 5–6.5 feet across and 23–40 inches tall, orient the lowest end to the north, and use roughly 125–150 reclaimed bricks for a stable form. Plant rosemary, thyme, and basil near the dry, sunny top and parsley or cilantro in the cooler base.
Avoid mint inside the bed, add a tiny pond if you want more habitat, and refresh compost yearly. Then mark the ground, stack steadily, and build one — people will notice and ask how you did it.. Surround your spiral with edible border plants that complement herbs
FAQ
What is a herb spiral and why build one?
A herb spiral is a raised, winding bed that creates varied microclimates so many plants can grow in a small area. It saves space, captures sun and water efficiently, and keeps frequently used culinary plants close to your kitchen. You’ll get drier, sunny spots at the top and cooler, moist conditions near the base.
Where should I place a spiral in my yard?
Choose a sunny, wind-sheltered spot within easy reach of the kitchen. Make sure the ground is even and has good access for watering and harvesting. Positioning near a patio or path helps people enjoy the plants and makes routine care easier.
How big should I make my spiral?
Aim for a diameter of about five to six-and-a-half feet and a height between 23 and 40 inches for most home gardens. That size offers enough planting area while keeping everything reachable. Adjust the scale for your available space and the number of herbs you want to grow.
What materials work best for building the walls?
Use bricks, stones, or seasoned, untreated wood. Reclaimed bricks or masonry give a stable, long-lasting edge. Avoid pressure-treated lumber that can leach chemicals. Stones and pavers also create attractive thermal mass to moderate temperature and retain heat.
How do I prepare the ground before building?
Level the area, remove big weeds, and lay cardboard to suppress persistent grass if needed. Ensure the spot drains well. Good ground prep lets roots access soil and reduces weed pressure as you stack walls and fill with growing mix.
What soil mix should I use inside the spiral?
Use a fertile mix: about half topsoil blended with compost and well-aged organic matter. Add coarse sand or grit for drainage where needed. Fill and amend as you build so the bed has structure and nutrient-holding capacity from top to bottom.
How do I build the spiral walls and slope?
Outline the circle, then lay the first course of bricks or stones to form a path wide enough for planting. Stagger layers as you climb to create a steady rise. Slope the outer edge gently so water runs toward the lower, moister zones while preventing erosion.
Can I include a small pond at the base?
Yes. A shallow pond or water feature at the low end adds habitat and creates a moist microclimate ideal for cilantro and parsley. Ensure proper lining and safety if you have children or pets, and design access for maintenance.
Which plants go at the top, middle, and bottom?
Plant sun- and drought-tolerant species like rosemary, thyme, sage, oregano, and tarragon at the top. In the mid-level place basil, chives, and dill where morning sun and moderate moisture coexist. Reserve the lowest, cooler edge for parsley, cilantro, and water-edge plants that like more moisture.
Are there any plants I should avoid?
Avoid aggressive spreaders such as mint and some mints’ relatives unless contained in pots. Their runners can take over the entire structure. Choose well-behaved varieties to keep balance and reduce yearly maintenance.
How often should I water and mulch?
Water regularly during establishment and in hot, dry spells. Mulch to retain moisture and suppress weeds, topping up annually. The slope and soil mix influence frequency—upper dry spots need more frequent checks than lower, moister areas.
What yearly care does a spiral need?
Add a thin layer of compost each year, check and adjust bricks or stones, and replace tender annuals after frost. Prune perennials like rosemary and thyme as needed, and refresh soil in high-use spots to maintain fertility.
Can I build a spiral on a slope or in poor soil?
Yes. On sloped yards, position the spiral so the rise works with natural drainage. In poor soil, build the structure and fill with a good mix; raised beds with amended soil overcome many site limits. Use reclaimed materials to keep costs down.
What tools and supplies will I need?
Basic tools include a spade, wheelbarrow, level, mason’s trowel or rubber mallet for stones, and gloves. Materials list: bricks or stones, topsoil, compost, mulch, and optional pond liner or edging. Sourcing reclaimed bricks or river stones reduces budget and adds character.
How can I prevent weeds and pests?
Lay cardboard under the base to block perennial weeds, mulch to reduce new weed seeds, and use good sanitation for pest control. Encourage beneficial insects with flowering plants, and handpick or use organic sprays for small outbreaks.
Is this suitable for beginners and small spaces?
Absolutely. The spiral is ideal for gardeners with limited space because it stacks many growing niches into a compact footprint. Start small, use easy-to-grow plants like basil and parsley, and expand as you gain confidence.
Where can I find inspiration and photos?
Look to gardening books, local botanical garden plantings, and online photo galleries on sites like Houzz and Pinterest. Search terms like “herb spiral photo” and “stacked stone spiral garden” will reveal many real-life examples to spark ideas.