Surprising fact: nearly 60% of American renters say they want more fresh greens at home but lack space to grow them.
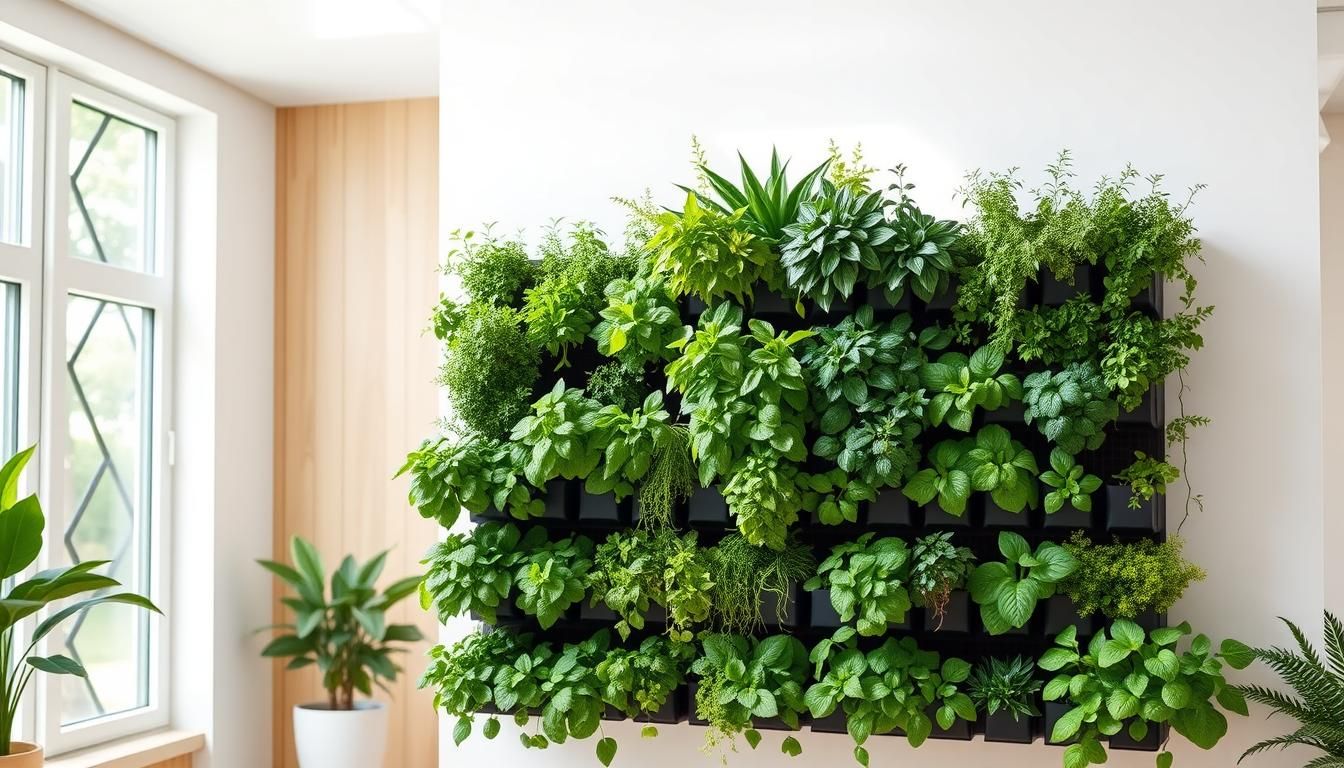
That gap is easy to bridge. In one afternoon you can make a compact garden that fits tiny spaces and brings fresh herbs within arm’s reach. This guide shows three friendly, weekend-ready builds: a cedar shelf system, a rope-hanging planter shelf, and a rolling pallet privacy screen.
The cedar design uses six 32-inch shelves angled at 60 degrees, pocket-hole screws to hide fasteners, and a fence-picket back with a 1/2-inch drain gap. The rope option cuts 1x6 boards to 32 inches, adds snug rope holes and 4-inch pot cutouts, then seals with polycrylic. The mobile pallet model joins two pallets on casters and creates rustic planter boxes that line with landscape fabric.
Make sure you choose sturdy fasteners, good drainage, and finishes that stand up to sun and moisture. If you want a quick example project under $100, see a simple plan for an easy vertical herb garden.
Key Takeaways
- You can build a compact garden in a weekend with basic tools.
- Cedar shelves give a clean look; rope shelves offer airy style.
- Drainage, strong fasteners, and sealed wood extend life.
- Detailed dimensions and tips help even first-timers succeed.
- All three builds keep fresh herbs close to your kitchen.
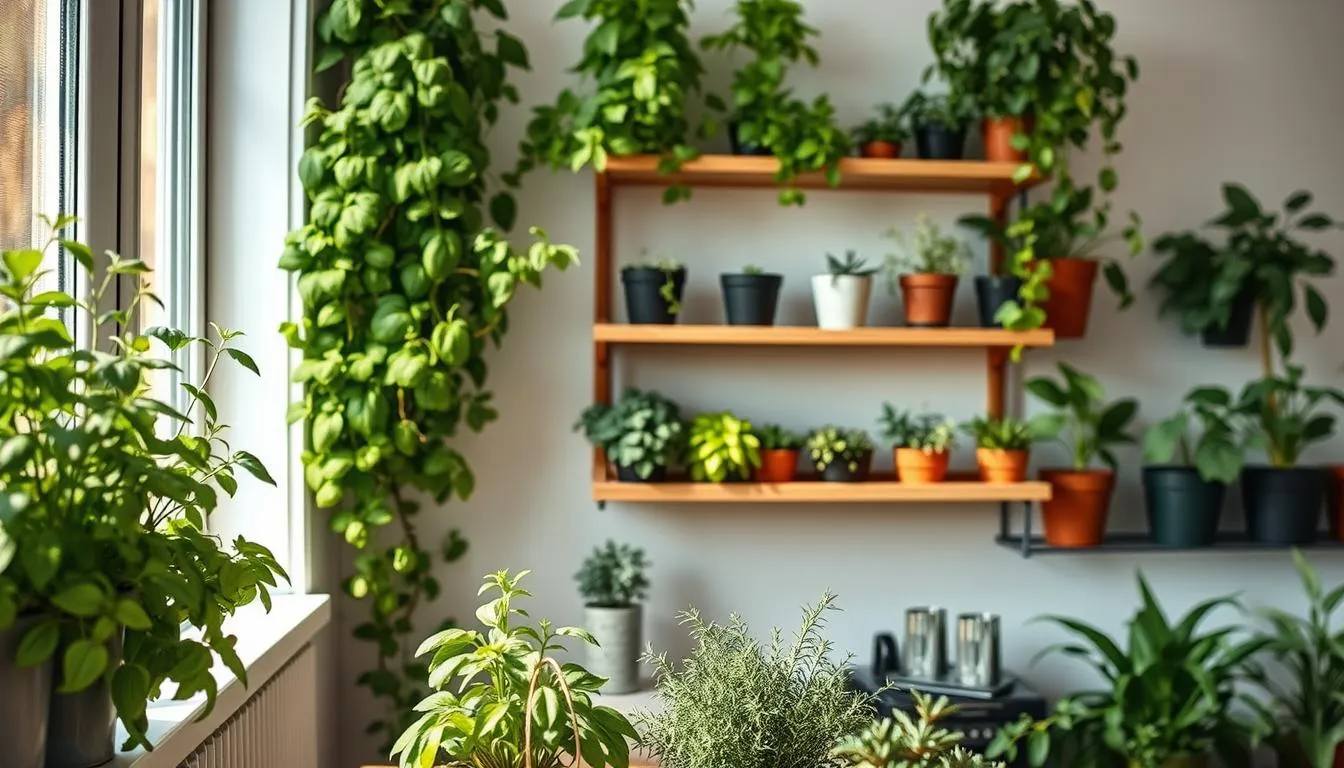
Plan Your Vertical Herb Garden: Space, Style, and Sunlight
Good placement makes the project effortless to maintain. Start by picking a spot that gets steady sun and has solid backing so shelves or hangings can be fastened into studs or posts. Position the unit where daily exposure reaches about 6–8 hours so common Mediterranean plants thrive.
Measure the area carefully. Note total height for multiple tiers, the width available for boards and pots, and front-to-back clearance so foliage does not crowd. Verify stud or post spacing to line up brackets and hooks before you drill.
Plan drainage and water access now. Leave a 1/2-inch gap at the bottom of shelf-backed builds so water can escape. If a hose bib is nearby, consider adding a simple drip system to simplify watering and keep runoff away from siding.
- Choose a place that reliably gets 6–8 hours of direct sun and can accept strong fasteners.
- Map width and size for shelves and pot diameters to avoid contact with siding.
- Make sure water routes away from walking paths and foundation; use approved hardware for fence attachments.
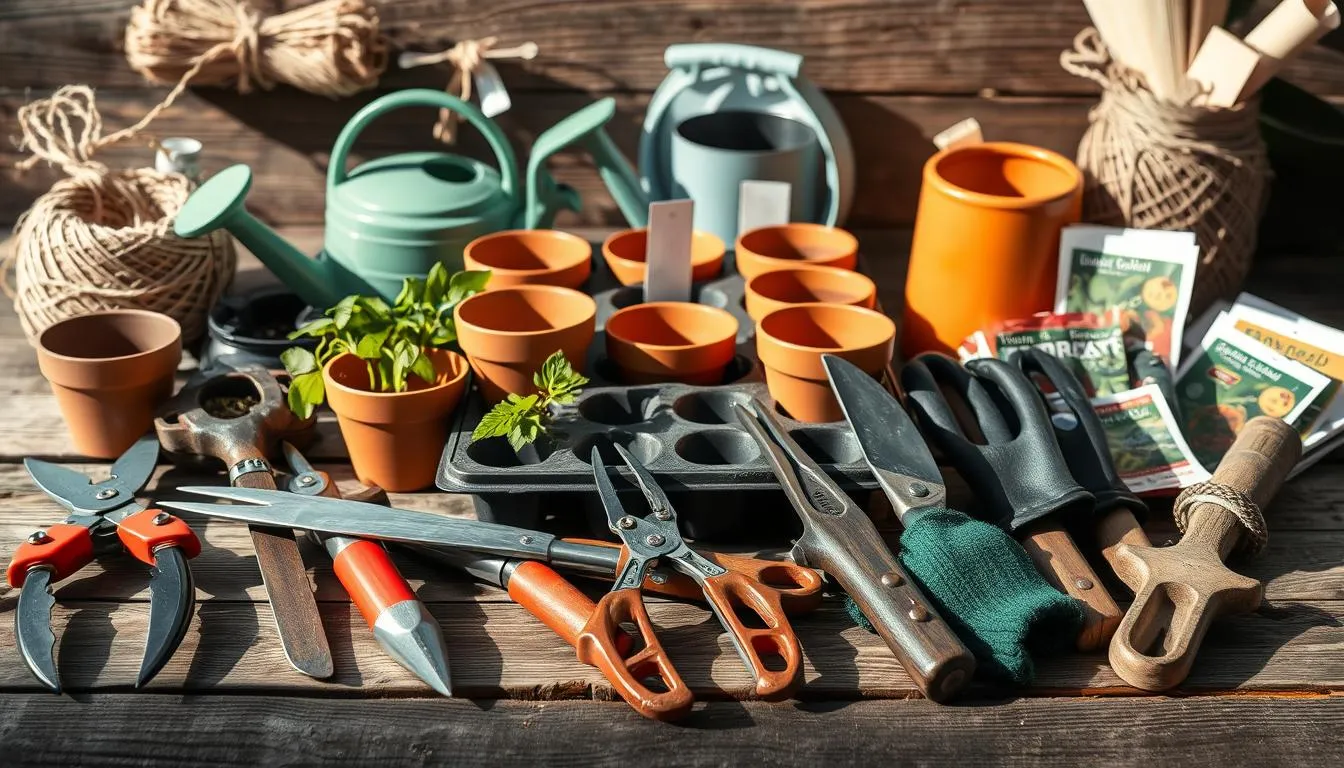
Tools and Materials You’ll Need for a DIY Vertical Herb Wall
Before you cut or fasten anything, set up a tidy workspace and collect parts. This saves trips to the store and keeps each step simple.
Wood and boards
Select rot-resistant cedar for sides and shelves: two 1x8 side boards cut to 50-inch and six shelves cut to 32-inch. Use 1x6s for the base and cedar fence pickets for the back. Line shelf cavities with landscape fabric.
Hardware and fasteners
Secure shelves with 1 1/4-inch pocket-hole screws and outdoor wood glue. For pallet builds, add 3-inch corner brackets and locking casters on 2x4 supports. For hanging shelves, use sturdy rope, screw hooks, and zip ties.
Essential tools
Pack a drill/driver, jigsaw, miter saw, pocket-hole jig, sander (220 grit finish), and a square. A tape measure, clamps, and a speed square speed accurate cuts and glue-ups.
“Gathering the right materials first turns a long afternoon into a satisfying project.”
| Build | Key wood | Fasteners | Notes |
|---|---|---|---|
| Cedar shelf | 1x8 sides, 1x8 shelves, fence pickets | 1 1/4” pocket-hole screws | Cut sides 50” and shelves 32”; line with fabric |
| Rope-hanging | 1x6 boards | Screw hooks, rope, zip ties | Drill rope holes 1” from side; cut 4” pot openings |
| Mobile pallet | Reclaimed pallet pieces, 2x4 supports | 3” corner brackets, locking casters | Assemble planter boxes, add drainage, line with fabric |
Step-by-Step: Build a DIY vertical herb wall
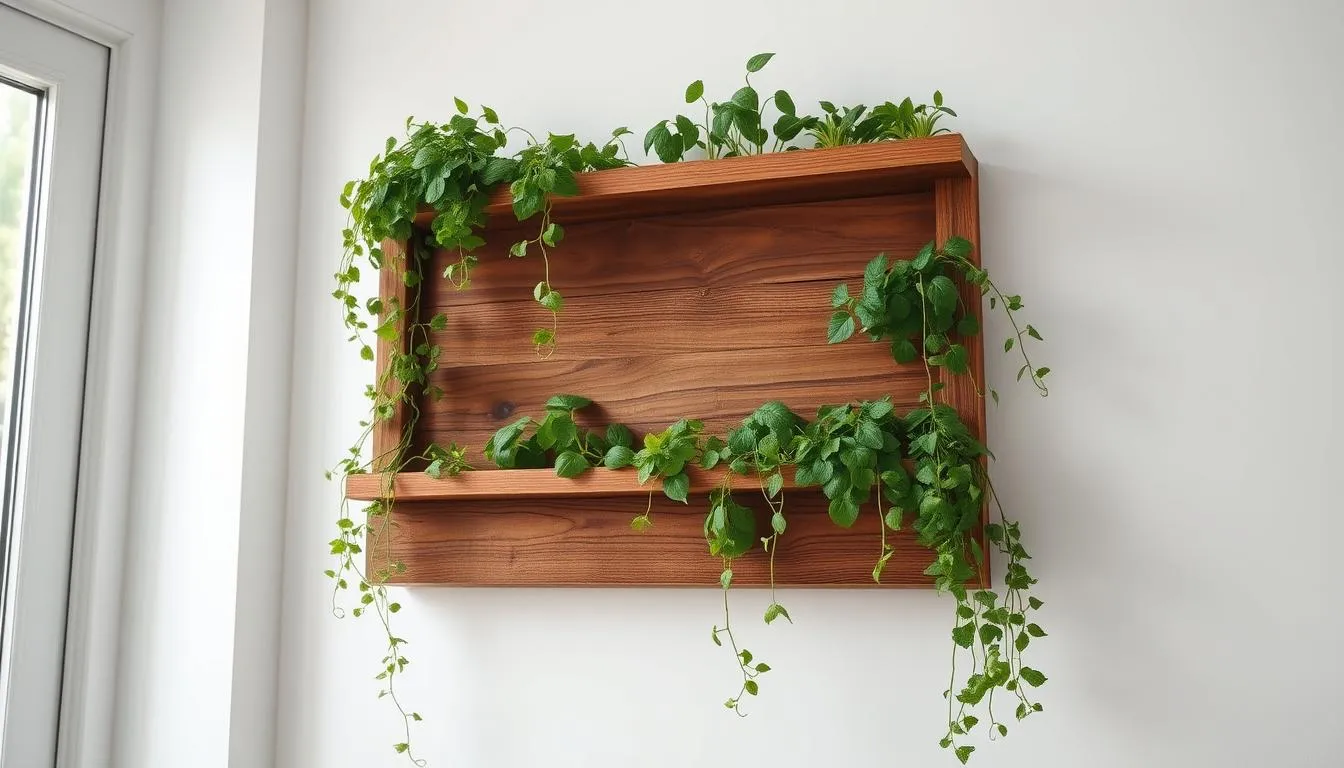
Follow these clear build steps to turn common lumber and simple fasteners into a tidy, food-ready planter system. Below are concise instructions for the cedar shelf build, a rope-hanging option, and a mobile pallet unit.. Simplify maintenance by incorporating self-watering planters for vertical systems
Cedar shelf assembly
Cut two side pieces to 50 inches and six shelves to 32 inches from 1x8s. Mark the bottom front corner 5 1/2 inches up and lay a 60-degree line. Space the remaining shelves every 8 inches.
Drill three pocket holes at each shelf end with the pocket faces on the top so the fasteners hide under soil. Pre-fit, apply wood glue, and drive 1 1/4-inch pocket screws for a square frame.
Attach cedar fence pickets across the back, starting at the top and leaving a 1/2-inch gap at the bottom to shed water. Add a mitered 1x6 base across the front and sides, then staple 11x36-inch landscape fabric into each shelf pocket to hold soil.
Rope-hanging shelf system
Cut three 32-inch 1x6 boards and drill snug rope holes 1 inch from each side and 1/2 inch from each end. Use a hole saw or jigsaw to cut three 4-inch pot openings per board, sand to 220 grit, and seal with Minwax Polycrylic.
Thread rope from the bottom, tie stout knots under the lowest shelf, and set each tier with zip ties. Hang from 2.5-inch screw hooks driven into studs or a ceiling plate and level before planting.
Mobile pallet planter
Join two full pallets with 2x4s, add three 2x4 supports underneath, and fasten five locking casters to the base. Build planter boxes from pallet stock, drill drainage holes in each bottom, line with landscape fabric, and mount with 3-inch corner brackets.
“Gathering the right materials first turns a long afternoon into a satisfying project.”
Install, Water, and Grow: Make Sure your vertical herb garden thrives
Good installation and simple routines keep plants productive and your space tidy. Start by anchoring the frame to solid studs or a sturdy post so your planter setup never shifts. For hanging systems, set screw hooks into studs or a ceiling plate and test each connection before adding pots.
Secure mounting and stable bases
Secure any mounted unit into studs or strong fence posts, and fit five locking casters on pallet builds so the garden does not roll during watering or wind. Lock casters when you work or harvest.
Watering, soil, and moisture management
Consider a simple drip watering system to deliver steady moisture. If you skip a drip line, check soil daily in hot, windy weather: pots dry fast and roots stress quickly.
Line planters with landscape fabric and use high-quality potting soil to balance drainage and water retention for healthy roots.
Plant selection and placement
Choose herbs suited to your area and sun levels. Basil, rosemary, thyme, mint, chives, sage, and oregano each have clear needs.
Group pots by similar water needs, give mint its own container, and place pots where you can reach them for pruning. Make sure there is a small gap behind containers to allow airflow and prevent mildew.
“Gathering the right materials first turns a long afternoon into a satisfying project.”
- Water in the morning and feed lightly when active growth appears.
- Rotate containers occasionally so each plant gets even light.
- Prune often to encourage bushy, flavorful growth at home.
Conclusion
Take a last pass to sand cut edges, test-fit pots, and tighten every corner and pocket screw.
Then enjoy the result. You now have three clear paths: a polished cedar shelf, an airy rope system, or a rolling pallet herb garden that fits small spaces.
Recap the essentials: measure width and size, mark shelf positions, and pre-drill where needed. For the cedar build keep pocket fasteners at the top and leave a 1/2-inch bottom gap so water exits cleanly.. This vertical approach is essential for urban micro-farming techniques
On hanging shelves keep rope holes consistent and test each hole with a pot. For pallet planters, cut box pieces, drill drainage holes, and use sturdy corner brackets.
Finish strong by sealing exposed wood, checking every board and shelf for square, and placing plants where they get sun. Then step back and enjoy your new herb garden.
FAQ
How do I pick the best spot for a vertical herb garden?
Choose a south- or west-facing fence, wall, or corner that gets about 6–8 hours of sunlight. Measure the height and width to fit boards, shelves, and pots, and leave enough clearance for watering and access. If space is tight, consider a mobile pallet on locking casters so you can move the planter for sun or shelter.
Which wood and materials last outdoors without frequent replacement?
Use rot-resistant species such as cedar or pressure-treated lumber. Cedar 1x8s and 1x6s, fence pickets, or cedar pallets hold up well. Seal unfinished cuts with an exterior sealer unless you buy already durable wood. Line planters with landscape fabric and add drainage holes to protect the wood from constant moisture.
What basic tools and hardware do I need to build shelves and pockets?
Keep a drill/driver, jigsaw or hole saw, miter saw, sander, pocket-hole jig, and a square on hand. Stock screws like pocket-hole screws, corner brackets, screw hooks for hanging, zip ties, rope, and casters if you want mobility. A tape measure and pencil help with precise cuts and layout.
How should I plan drainage to avoid water damage?
Leave a small bottom gap—about 1/2 inch—in back boards or add drainage holes in planter boxes. Line shelves with landscape fabric to hold soil while letting excess water pass. If mounting against a home wall, add a moisture barrier or use a freestanding frame to protect siding, and consider a drip system to reduce runoff.
Can I use pots instead of fabric pockets or built-in boxes?
Yes. Four-inch clay pots or recycled containers fit well in shelf cutouts or rope-hung systems. Cut pot holes with a hole saw or jigsaw, sand edges smooth, and secure pots with shelf lips or clips. Make sure every pot has drainage and use liners to keep soil from washing out.
What’s the easiest hanging method for layered shelves?
Thread sturdy rope through pre-drilled holes in 1x6 or 1x8 boards, tie bottom knots to support weight, and adjust heights with zip ties or clamps. For a cleaner look, mount screw hooks into studs or a ceiling plate and hang the rope securely. For heavier builds, use corner brackets and pocket screws for extra support.
Which herbs grow best in a stacked garden and need similar care?
Choose herbs with comparable light and water needs: basil, rosemary, thyme, oregano, sage, chives, and mint. Group moisture-loving plants together and keep vigorous spreaders like mint confined in pots or lined boxes to prevent them from overtaking neighbors.
How do I maintain soil moisture without overwatering the bottom tiers?
Consider a drip watering system with emitters set for each shelf level. Check soil moisture daily at the top and bottom tiers and adjust emitter flow as needed. Good drainage, landscape fabric, and a slight angle on shelves help prevent water pooling and root rot.
Can I make a mobile herb garden for small spaces?
Absolutely. Build a pallet-style planter and join two pallets with 2x4s, add a sturdy base, and install five locking casters for stability. Mount planter boxes with corner brackets, line with landscape fabric, and drill drainage holes. This lets you roll the garden to follow sun or bring it inside in bad weather.
How do I hide or finish shelf edges for a clean look?
Add a mitered base front and side trim pieces cut on a miter saw for neat corners. Sand and seal the trim to match the rest of the structure. Pocket-hole screws or corner brackets keep the trim tight and durable while giving the garden a polished appearance.
What safety tips should I follow during construction and installation?
Always locate and secure into studs when mounting heavy shelves or using screw hooks. Wear eye and ear protection when cutting or drilling. Use proper fasteners for outdoor use—galvanized or stainless steel—and test the assembled unit’s stability before adding soil and plants.