Surprising fact: a 3‑bay system with 4×4×4‑foot bays can cut composting time dramatically by holding enough mass to heat and break down materials quickly.
This guide walks you through choosing a design, planning space and volume, and gathering materials and tools in plain language.
You’ll see simple builds for small yards and larger garden plots. We cover a trash‑can conversion, a pallet wood unit with a front door, a wire fence ring, a wood‑and‑mesh frame, and a three‑bay rotary style for easy turning.
Quick choices matter: open soil bottoms speed breakdown and invite worms, while screened bottoms and latched lids keep critters out. Cedar or redwood boards and galvanized hardware cloth last longer than chicken wire in edible gardens.
Most projects finish in an afternoon to a weekend. Follow the step sequence: level the place, set a frame and posts, attach mesh or boards, add doors or a lid, and start your first pile.
Key Takeaways
- Three‑bay, 4×4×4 bays are ideal for hot, rotational composting.
- Choose durable materials: cedar/redwood and galvanized hardware cloth.
- Decide between open soil bottoms for worms or screened bottoms for pests.
- Most builds use a drill/driver, saw, screws, hinges, and snips.
- Many setups finish in a weekend and speed garden soil improvement.
Why Start Composting Now: Fast Wins for Beginners
You don’t need a big yard to get wins—one compact unit will reduce trash and feed your garden. A drilled trash can with screened vents or a quick wire ring fits a small space and takes about an hour to build. These options teach core skills without a big cost or a lot of lumber or boards.
Start by diverting food scraps and yard trimmings into a small bin with a tight lid. Expect visible change: the compost pile will shrink as microbes work and you’ll send fewer bags to the curb each week.
Sun speeds hot activity but can dry a pile fast; shade keeps moisture but slows heat. A 3×3 foot area works for slow breakdown, while 4×4×4 feet supports hotter, faster results.
- Keep smells and pests away: cover food with dry browns and add a few screened holes for airflow.
- Use a simple wire ring or pallet-style unit to learn turning, moisture checks, and balance.
- Upgrade later with hardware cloth, cedar boards, or a two- or three-bay system as your garden grows.
Plan Your Bin: Space, volume, and timeline considerations
Plan where and how large your pile will sit before you buy materials or start building. Measure the available space and note the width and length that fit your yard. A 4×4×4‑foot pile helps reach hot temperatures and speeds decomposition.
Hot versus cold composting: time, effort, and temperature
Hot composting needs a bigger mass, regular turns, and careful moisture checks to finish fast. Cold composting takes less effort but more time and is fine if you want a set‑and‑forget way.
Single bay, two‑bay, or three‑bay: choosing rotation capacity
Match bins to how much yard waste you generate. A single bin can work with batch timing. A two‑bay system separates active and curing piles. A three‑bay layout lets you add to one, turn a second, and cure a third for continuous output.
- Map your space: leave room at the back and front for a wheelbarrow and easy turns on level ground.
- Choose materials: wood and hardware cloth balance airflow, durability, and pest control better than thin wire alone.
- Ground contact: open soil bottoms invite worms; screened bottoms deter tunneling pests.
Site Selection and Placement for a Compost Pile
Pick a nearby, level area that balances access and odor control for best results. A good place keeps the pile handy for kitchen scraps and close enough to the garden for quick spreading.
Sun vs. shade and moisture management
Sun speeds decomposition by warming the pile, but it also dries the soil and pile faster. Water more often if your spot gets hot sun.
Shade keeps moisture and cuts maintenance, though the process may take longer. Aim for a mix of sun and shade if you can.
Ground prep: level area, drainage, and access
Rake level ground and check drainage so the structure sits square and won’t hold standing water after storms.
- Leave several inches from any fence or structure at the back and sides for airflow and pest checks.
- Assemble large wood walls and boards in place to avoid moving heavy lumber across the yard.
- Keep open soil contact where possible so worms and microbes can enter and prevent anaerobic pockets.
- Ensure wheelbarrow access at the front, plumb corners, and consider stakes or braces if wind or livestock are concerns.
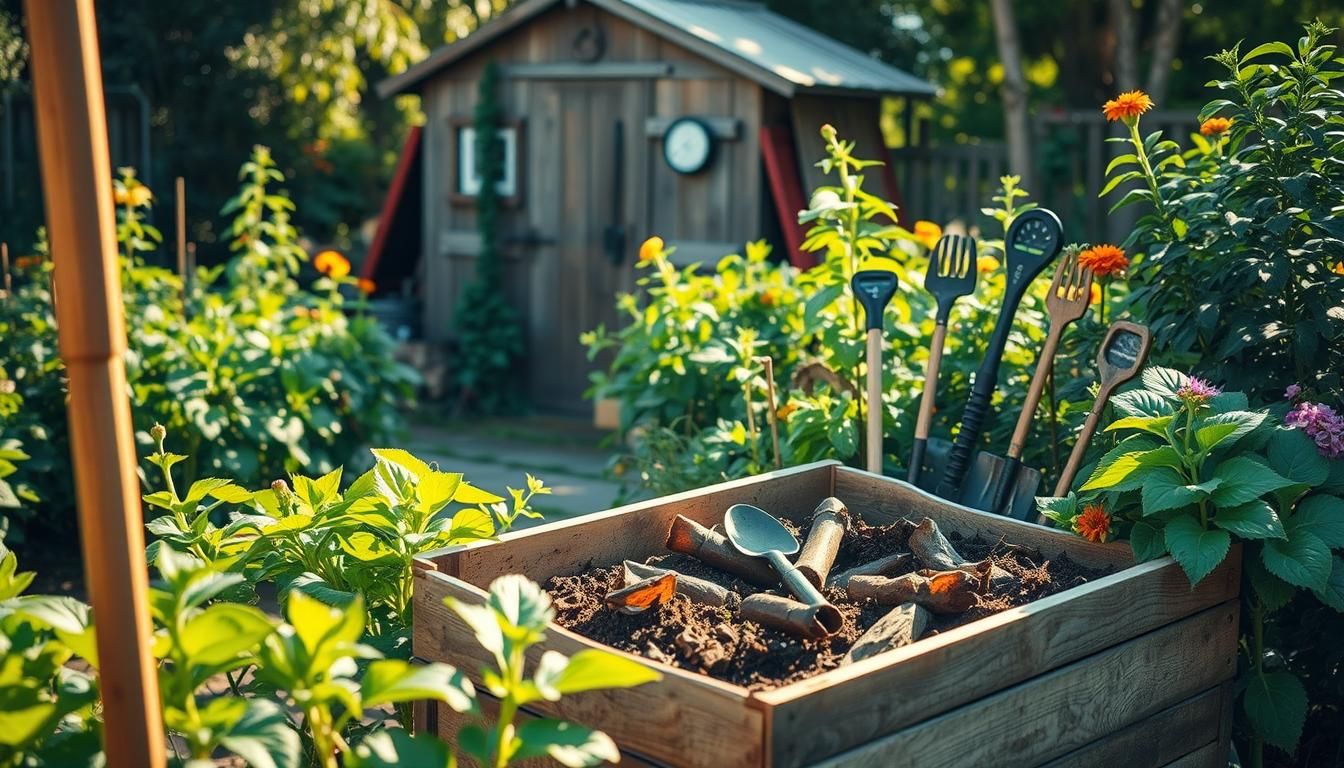
Materials and Tools: Hardware cloth, boards, posts, and more
Invest in durable materials and a compact set of tools to keep repairs low and performance high. Choose metal cloth and rot‑resistant wood so your project lasts through seasons.
Hardware cloth (galvanized, 1/2”) stays taut, resists rust, and blocks vermin. Chicken wire is cheaper but deforms and lets pests through. Use wide‑head cabinet screws to anchor the cloth to boards.
Select cedar or redwood for boards and posts. Avoid treated lumber where finished soil will touch edible gardens.
Gather time‑saving tools: a drill/driver, saw, measuring tape, level, and aviation snips. Add hinges, latches, corner braces, and fence rail brackets for stiff inner walls.
| Item | Why it matters | Recommended |
|---|---|---|
| Hardware cloth | Blocks rodents, holds shape, allows airflow | Galvanized 1/2” |
| Wood boards & posts | Structure and durability; safe near soil | Cedar or redwood |
| Fasteners & brackets | Long‑term outdoor strength | Outdoor screws, corner braces, rail brackets |
| Essential tools | Speed and accuracy at assembly | Drill, saw, snips, tape, level |
- Label cuts (back, sides, front) to speed assembly.
- Keep spare pieces of cloth and a board or two for quick repairs.
DIY compost bin setups
Consider how often you’ll turn material and choose a design that makes that simple. Start by matching the build to your skill, budget, and yard space. Small efforts can scale later.
Options range from a quick wire ring and a drilled trash can to pallet frames, wood‑and‑mesh walls, and three‑bay systems. Use hardware cloth and removable front boards to keep airflow and make access easier.
Match a build to your skill, budget, and yard space
- Fastest to most involved: wire rings and cans first, then pallet or wood frames, then three‑bay rotation.
- Spend where it counts: galvanized mesh, good hinges, and solid boards extend life.
- Plan the footprint and height so turning by hand feels comfortable; taller units hold heat but are harder to manage.
- Keep the front side accessible with removable slats or a hinged door for easy harvesting.
| Option | Skill | Typical cost | Best for |
|---|---|---|---|
| Wire ring | Beginner | Low | Small yards, quick start |
| Drilled trash can | Beginner | Low | Tight spaces, low maintenance |
| Pallet or wood frame | Intermediate | Low–Medium | More capacity, uses reclaimed wood |
| Three‑bay system | Advanced | Medium–High | Continuous rotation and hot compost |
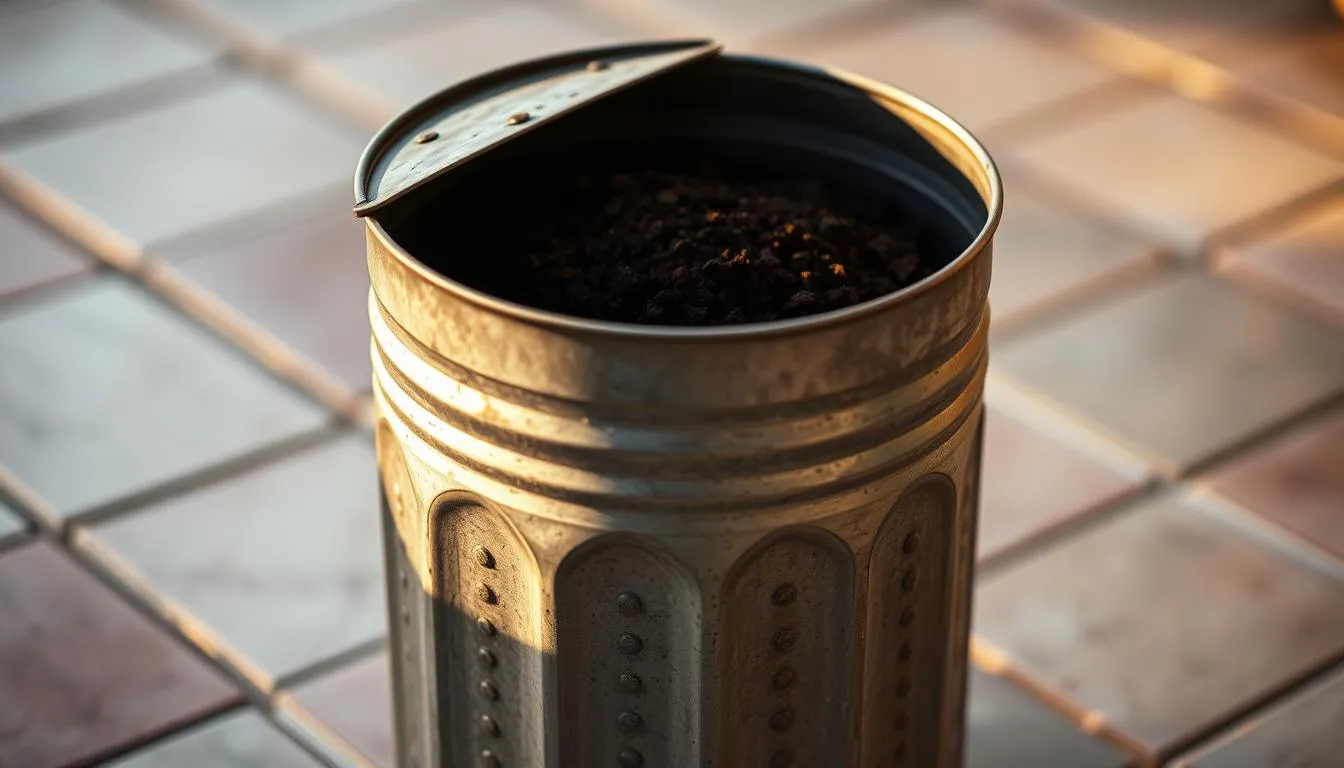
Trash Can Conversion: Drill-and-fill bin for tight spaces
A converted 32‑gallon trash can makes a compact, pest‑resistant solution for tight yards. This method keeps materials contained, improves airflow, and fits on a small patio or near the garden.
Parts list and pest‑proofing
Gather a heavy‑duty 32‑gallon can with a tight lid, a drill and bits, aluminum screen, and silicone caulk or epoxy. Add a few short boards or bricks to lift the can off soggy ground.
- Mark staggered rows around the top and mid‑section; drill vents 6–12 inches apart.
- Cut 4–5 inch screen squares and attach from the back side so pieces stay in place.
- Seal each screen with silicone or epoxy to block pests like raccoons and small rodents.
- Keep the lid latched and store the unit in light shade to balance heat and moisture.
Drilling patterns for airflow and heat retention
Drill holes in two staggered bands near the top and one near the midline to move air while holding warmth. Add a few small holes at the bottom edge for drainage.
Set the can in its place, load alternating browns and greens, and close the lid. Turn weekly by rolling the can on its side or stirring through the front opening to speed decomposition.
If it smells, add dry browns and consider drilling a couple more holes up high. Expect some leachate; pour it onto established beds rather than lawns. For step‑by‑step guidance, see how to make a trash‑can composter.
Tip: If you outgrow this compact approach, repurpose the can for leaf mold and move to a larger frame with hardware cloth or chicken‑wire protected walls.
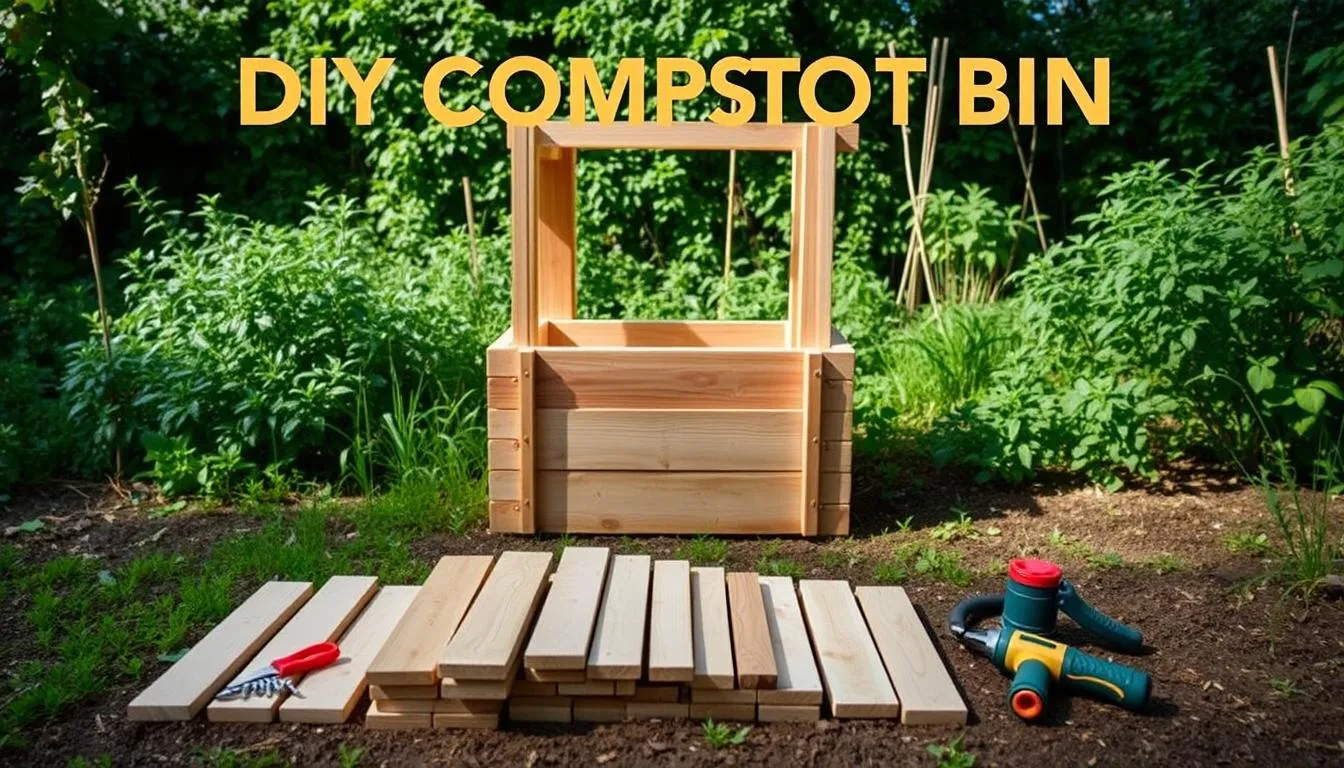
Pallet Wood Bin: Affordable, scalable frame with a front door
A pallet wood frame gives you a low‑cost, scalable way to build a sturdy compost container with easy access. Use three to four matched pallets to form two side walls and a back, then square them with L‑brackets for a fast, stable frame.
Hinges, latch, and handle for quick access. Use your finished compost for sustainable mulching methods using compost
Hinge the front pallet so it opens like a door. Add two strap hinges, a gate hook or latch, and a simple handle for one‑hand use when adding material.
- Placement: Set the unit on level ground and leave at least 6 inches from fences or structures to discourage pests and allow airflow.
- Secure and stiffen: Tie corners with coated screws, corner braces, and short stakes near the posts to resist racking.
- Containment: Fasten extra boards across wide pallet gaps to retain fine material; line the interior with hardware cloth if rodents are a concern.
- Safety: Sand rough edges and remove protruding nails or staples at corners and handles.
- Start smart: Size the front opening to fit a shovel or wheelbarrow and begin with a twig base, then alternate browns and greens for structure.
Wire Fence Ring: Chicken wire or hardware cloth cylinder
A shaped fence ring turns a flat roll of mesh into a handy, breathable container for kitchen and yard refuse.
Cut about 10 feet of fencing for a 3‑foot diameter ring. Flatten the roll on the ground, shape it into a circle, and fasten the seam at the top, middle, and bottom with wire or zip ties.
Choose chicken wire for low cost, or pick hardware cloth if you need a sturdier cylinder that blocks smaller pests. Wear gloves when you cut and handle the material to avoid sharp ends.
- Set the ring on level soil in a shaded place with good drainage.
- Add two stakes on the windward side for stability in open gardens.
- Start with coarse sticks on the soil, then alternate green and brown waste as you fill the sides.
- Monitor moisture and cover with a tarp during heavy rain.
- When ready to harvest, lift the ring up and re‑stack unfinished material back inside.
“A quick ring can get you composting in an afternoon.”
For step‑by‑step photos and tips, see this wire compost bin guide.
Wood-and-Mesh Frame Bin: Slatted sides with hardware cloth lining
Build a rugged, easy-access frame with slatted sides and a flush hardware cloth interior for smooth slat travel.
Cut list and key parts: Use 2x6 boards for the outer walls and continuous back, 4x4 posts cut to about four feet for corners, and 2x4s to form the front tracks for removable slats.
Cut list: boards, posts, and tracks
Cut 4x4 posts to height and trim 2x6 boards to the needed length. Plan a continuous back where possible to add rigidity.
Building square and adding tracks
Assemble the outer sides first and tie them with the back boards on level ground to make a rigid U shape.
Attach inner walls square with fence rail brackets so the front tracks stay parallel and each removable board slides easily.
Attaching mesh and finishing details
Line the interior with hardware cloth and secure it with wide-head screws. Keep the cloth flush with the front edge to avoid snagging slats.
- Space vertical 2x4s about 1 to 1¼ inches from posts to match slat thickness.
- Pre-drill holes at board ends to reduce splitting and check corners for square before final tightening.
- Keep the bottom open to the ground for drainage and worm access; add a floor of cloth if pests tunnel.
- Add mid-span braces on long boards to prevent bowing under load and leave clearance from any nearby fence for airflow.
| Component | Material | Why it matters |
|---|---|---|
| Outer walls | 2x6 boards | Strength and weather resistance for the back and sides |
| Corners | 4x4 posts | Stable vertical support and anchor points |
| Front tracks | 2x4s | Smooth, aligned slots for removable slats |
| Interior lining | Hardware cloth | Pest control while allowing airflow |
| Fasteners | Wide-head screws & brackets | Holds cloth flush and keeps hardware secure |
Tip: Choose rot-resistant lumber and check equal bay width along the front so each piece slides without binding. Small pre-checks save time during regular use.
Three‑Bay System: Build, rotate, and harvest finished compost
For steady output, arrange three equal bays that let material move through stages. A three‑bay layout—each about 4×4×4 feet—gives enough mass for heat and steady decomposition.
Layout and sizing: Size each bay at roughly 4x4x4 to hold heat and speed breakdown. Place the system so a wheelbarrow can reach the front and the garden is a short carry away.
Access, boards, and inner supports
Install removable front boards in tracked channels so you can stack material higher without spillage. Use fence rail brackets or inner wall brackets to keep sides square and width consistent for smooth slat movement.
Stability and animal protection
Add sturdy posts and corner braces where livestock or pets may rub the structure. Optional steel tube gates mounted on J‑bolts let you lift gates off on turning days and restore security afterward.
- Keep the back clear for airflow to reduce rot and pests.
- Choose stable lumber and straight boards so slats slide easily.
- Plan safe footing and enough length and area to swing a fork when turning.
Lids, Doors, and Critter Control: Keep pests out, air in
Good covers and a lined interior protect your pile while letting air and heat do the work. Think of the top and openings as the first line of defense against rain and raccoons. Small upgrades extend life and cut maintenance.
Hinged lid with corrugated polycarbonate
Add a hinged lid covered with corrugated polycarbonate to shed rain and snow while keeping the unit light and easy to open with one hand. Secure the lid with two top latches so it resists curious animals and strong wind.
Use corrosion‑resistant hardware on hinges and latches so parts keep working all season. A framed wood top lined with cloth is a budget option; add a small overhang to route water away from the back.
Bottom protection vs. open soil contact
Line the interior, including doors, with hardware cloth to block pests. Hardware cloth lasts longer and holds up better than chicken wire or thin wire when animals test gaps.
- Keep the front edge clear of mesh so removable boards slide without snagging.
- Decide: leave the bottom open for worms and drainage, or cover the bottom with hardware cloth for maximum critter resistance.
- Inspect latches and cloth pieces regularly and replace any damaged section before pests find a way in.
Step‑by‑Step Build Flow: From boards to bin
Follow a clear sequence to turn lumber and cloth into a sturdy, usable unit. Short, methodical steps save time and prevent rework. Work on level ground with all tools at hand, and keep fasteners and hardware labeled.
Assemble outer walls and back to a U-shape
Lay out and pre-drill boards to prevent splitting. Screw 2x6 rails to 4x4 posts to form two outer wall panels that are square and level.
Stand the panels and tie them together with back boards to create a U-shaped frame. Check corners for square as you go and confirm the frame sits flat on the ground.
Install inner walls and ensure tracks align
Install inner walls using fence rail brackets for clean, repeatable joints. Add vertical 2x4s to form front tracks, leaving a 1 to 1‑1/4 inch gap from posts so removable slats fit.
Measure bay lengths and confirm equal widths along the front. Test-fit a board to verify smooth sliding before fastening everything.
Attach hardware cloth safely and smoothly
Line the inside of the sides and back with hardware cloth. Start fastening at the center with wide-head screws and work outward to keep the piece taut and avoid bubbles.
Trim edges with aviation snips so the cloth sits flush at the front and won’t snag boards. Pre-drill holes for hinges, latches, and corner braces and install hardware only after doors and slats operate smoothly.
Final checks: Slide each front board in and out, label boards if needed, then tighten all fasteners. Clean sharp wire ends and remove any protruding screws before first use.
| Step | Action | Key tool or part |
|---|---|---|
| 1 | Pre-drill and attach 2x6 rails to 4x4 posts | Drill, screws, 2x6 boards, 4x4 posts |
| 2 | Tie panels with back boards to form U-shape | Level, back boards, corner braces |
| 3 | Install inner walls with fence rail brackets | Fence rail brackets, 2x4s |
| 4 | Attach hardware cloth from center outward | Hardware cloth, wide-head screws, aviation snips |
First Use: Start the pile, layer correctly, and water
Create a loose layer of branches and twigs first; this base helps oxygen reach the heart of the pile.
Layering matters: alternate nitrogen-rich greens (kitchen scraps, fresh clippings) with carbon-rich browns (dry leaves, shredded cardboard). Keep pieces small—chop or shred larger waste so microbes can work faster and heat spreads evenly.. Composting is a cornerstone of eco-friendly gardening practices
Aim for a 4×4×4‑foot mass when possible. Taller stacks hold heat better even in a modest footprint. As you build, use removable boards to contain the top and add slats for extra height.
Moisten each layer so the mix feels like a wrung‑out sponge. If your hardware cloth–lined bin drains fast, check moisture more often and water lightly from the top in hot, dry weather.
- Place coarse material at the bottom to avoid compaction and improve oxygen flow up into the compost pile.
- Cover fresh food scraps with browns to discourage pests and odors; bury meat, dairy, and oily food in closed systems only.
- Add a scoop of finished soil or finished compost as an inoculant to seed microbes through the new pile.
- Keep a covered bucket in the kitchen to collect daily scraps and cut trips to the garden.
| Task | Why | Quick tip |
|---|---|---|
| Base layer | Prevents compaction and improves airflow | Use branches or twigs 2–4 inches thick |
| Alternate layers | Balances nitrogen and carbon for steady heating | Cover food with dry browns each time |
| Moisture control | Supports microbial activity without anaerobic pockets | Target “wrung-out sponge” feel, water lightly |
| Size and height | Maintains heat for faster breakdown | Build toward 4×4×4; use boards to contain tall piles |
Turning, Aeration, and Moisture: Manage decomposition over time
Regular turning and good airflow are the keys to a fast, healthy pile.
Establish a schedule that fits your life: every 7–10 days for hot composting; less often for cool, slow work. Use removable front boards to fork material from front to back so outer layers reach the warm center.
Check moisture by squeezing a handful. If it feels dry, add water. If it drips, add dry browns like shredded paper or leaves. Adjust more often during heat waves or after heavy rain.
Keep air moving. Add drilled vents or mesh panels and use available holes to help the mass breathe. If the pile compacts, toss in coarse browns or coarse green twigs to reopen channels.
Watch signs: steam or a warm core means microbes are active. A cool bin may be too small, too dry, or short on nitrogen. Avoid over‑turning fresh material; let heat build for a few days between turns.
Quick practices to follow:
- Stick to a turning rhythm—consistency matters more than intensity.
- Keep tools near the garden for quick touch‑ups.
- Move nearly finished material to another bay to free the active bin for new inputs.
| Task | Why | When |
|---|---|---|
| Turn material | Moves outer material into hot center | 7–10 days for hot process |
| Adjust moisture | Supports microbes, prevents rot | Check weekly; after storms or heat |
| Add coarse browns | Improves airflow when compacted | As needed when pile feels dense |
Troubleshooting: Odors, pests, slow breakdown, and leachate
A few clear checks will resolve most odors, pest breaches, slow breakdown, and watery leachate. Start with the basics: smells usually mean too much moisture or too many greens. Mix in dry leaves or shredded cardboard and turn to add air.
Fruit flies respond well to burial: push fresh food a few inches into the pile and cap with browns. Keep the lid or front closed between additions to limit access.
- If rodents chew through chicken wire, swap to hardware cloth and check seams, doors, and any gaps in the wire or cloth.
- Slow breakdown often means the pile is too small, too dry, or low in nitrogen—add grass clippings, moisten, and turn thoroughly.
- Leachate at the bottom is normal; route it onto soil or beds and fork in coarse browns to soak excess moisture and restore airflow.
- Warped boards or misaligned tracks can snag removable fronts—plane or re-space boards for smooth operation.
When in doubt: add carbon, add air, and give it time.
Conclusion
Good planning, solid materials, and small daily habits turn kitchen scraps into useful soil faster than you might expect.
A sturdy bin built from rot‑resistant wood, straight boards, and hardware cloth—paired with simple tools and a tight lid—gives you the best chance at producing finished compost for your garden.
Choose the place that fits your yard and budget, then start small. Focus on layering, turning, and checking moisture over time. Fix or replace worn parts with spare materials so the unit stays useful season after season.
Start today: one reliable bin and a handful of tools will get you composting. With practice you can scale to two or three bays and keep a steady flow of rich, finished compost for healthy soil.
FAQ
What size should my compost container be for a beginner?
Aim for a volume around 3x3x3 feet (about 27 cubic feet). That size balances heat retention for faster breakdown with manageable weight when turning. If space is tight, a 2x2x2-foot container or a trash can conversion will still work but may compost more slowly.
How do I choose between hardware cloth and chicken wire?
Use hardware cloth for better pest control and durability; its smaller mesh keeps rodents out and holds material tighter. Chicken wire is lighter and cheaper but offers less protection. Line the bottom with hardware cloth if you use chicken wire on the sides to block burrowing animals.
Can I build a bin from pallet wood or should I buy lumber?
Pallet wood is affordable and scalable and can build a sturdy frame with a front door for access. Inspect for heat-treated pallets (stamped HT) to avoid chemicals. Cedar or redwood boards resist rot longer, while untreated common lumber is cheaper; avoid pressure-treated lumber that may leach into soil.
What tools and fasteners do I need to build a wood-and-mesh frame?
Essential tools include a drill, circular saw or handsaw, tin snips for mesh, a tape measure, and a level. Use exterior wood screws, galvanized brackets, and hinges for doors or lids. For hardware cloth, staple or screw with washers to prevent pull-through.
How should I site the pile on my property?
Place the system on level ground with good drainage and easy access. Partial sun speeds drying and warming; partial shade prevents excessive drying in hot climates. Leave enough edge space to maneuver a pitchfork and to rotate piles between bays.
What’s the difference between hot and cold systems?
Hot systems reach higher temperatures and decompose faster, typically needing a larger, well-sized pile and frequent turning. Cold systems require less effort, take longer, and suit people who add material sporadically. Choose hot for speed and pathogen control; choose cold for low maintenance.
How do I start the first pile and maintain moisture?
Layer greens (kitchen scraps, grass clippings) and browns (leaves, shredded paper, wood chips) in roughly a 1:2 ratio by volume. Aim for a damp sponge moisture level—wet but not dripping. Turn periodically to aerate and add water during dry spells.
How often should I turn the material and why?
Turn every 1–2 weeks for hot, fast decomposition; every 3–6 weeks for slower batches. Turning introduces oxygen, reactivates microbial activity, and helps keep the temperature even throughout the pile.
What can attract pests and how do I prevent them?
Meat, dairy, and oily foods attract rodents, raccoons, and flies. Use well-constructed lids and hardware cloth, bury food scraps under browns, and avoid adding these high-risk items. Secure doors, add a hinged lid with a latch, or use a closed trash can conversion with screening and caulk for tight spaces.
How do I size and build a three-bay system for rotation?
A common bay size is about 4x4x4 feet for good heat and capacity. Build removable front boards and inner wall brackets so you can shift material from one bay to the next. Add corner braces and optional gates if you need extra stability or to keep pets away.
Should the bin sit directly on the ground or have a bottom barrier?
Placing the frame on bare soil allows beneficial organisms and worms to enter and improves drainage. If pests are a concern, attach hardware cloth under the base to block burrowers while still allowing contact with the ground.
How do I harvest finished material without making a mess?
For multi-bay or pallet-style designs, remove front boards and pull finished material from the bottom and back. Use a mesh-lined sifter to screen out large pieces and return them to the active pile. Keep a designated harvest area with easy access to garden beds.
What are quick fixes for smelly or slow-decomposing piles?
Odors usually mean too wet or too rich in greens—add dry browns like shredded paper, wood chips, or straw and turn to increase airflow. Slow breakdown can mean large particle size; chop or shred material, increase surface area, and maintain warm, moist conditions.
Can I compost with chickens or other livestock nearby?
Yes, but protect the pile with sturdy fencing or hardware cloth and secure lids. Keep bins at a safe distance from coops to reduce opportunistic scratching and scattering. If using finished material around livestock, allow full composting to kill pathogens first.
What materials should I never add to my pile?
Avoid meat, dairy, diseased plants, invasive weeds with seeds, treated wood, and pet waste from carnivores. These can cause odors, pest problems, or introduce pathogens. Instead, add yard trimmings, fruit and vegetable scraps, coffee grounds, eggshells, and paper products.