Surprising fact: about 40% of home gardeners say saved seed helped them grow more diverse plots next season, boosting local variety and resilience.
This short guide makes saving seeds accessible and useful. It walks you through choosing crops, avoiding unwanted crosses, and harvesting at true seed maturity.
Follow a simple workflow: plan, isolate, harvest, clean, dry, label, and store. These steps protect unique varieties and desired traits while cutting yearly costs.
Whether you manage a tiny backyard or a larger bed, small systems—clear notes, airtight jars, and dated labels—give reliable results. Beginners will find easy wins; experienced gardeners can refine techniques and join swaps or local libraries to deepen community resilience.
Key Takeaways
- Learn to select crops and harvest at seed maturity for best results.
- Prevent crossing to keep plants true-to-type and preserve traits.
- Use dry or wet cleaning methods, then dry until seeds snap or shatter.
- Store in cool, dark, dry conditions with clear labels and dates.
- Join local swaps or seed libraries to share varieties and knowledge.
Why Save Seeds Today: Benefits for Your Garden, Budget, and Biodiversity
Collecting seeds lets gardeners shape varieties that thrive in their neighborhood. It builds local resilience, cuts the cost of buying new packets each year, and helps keep rare lines alive.
Financial and practical gains: Pulling a few seeds from top performers incrementally lowers annual seed costs and creates a small seed bank tuned to your garden. Over a few seasons, those saved lines often outperform store-bought types in your soil and microclimate.
Adaptation and stewardship: Replanting open-pollinated material from healthy plants lets varieties adapt to place and care. This landrace effect improves vigor and flavor over years and helps preserve heirloom species that might vanish otherwise.
- Join local swaps or a seed library to access regionally proven lines and share surplus.
- Tap networks like Seed Savers Exchange or the Community Seed Network for guidance and exchanges.
- Set aside a little space and time each season to trial and select from your best plants.
Community and biodiversity: When more hands save more lines, neighborhoods gain protection against pests, disease, and changing weather. Sharing is social too—gardens grow more diverse and connected when gardeners trade material and knowledge.
Choosing the Right Plants: Heirloom, Open‑Pollinated, or Hybrid
Choose plants that will reliably pass on the traits you value to the next season. Picking the right type makes selection easier and keeps future crops predictable.
Heirloom and open‑pollinated varieties typically produce offspring similar to the parent when isolated from unwanted pollen. Heirlooms are open‑pollinated lines kept for decades and often adapt to local conditions. These lines often offer excellent flavor and unique characteristics worth preserving.
Why hybrids (F1) aren’t ideal
Hybrids (labeled F1 or Hybrid) are crosses of two distinct lines. Their saved seed is genetically unstable. Offspring often show mixed traits, reduced uniformity, and less predictable vigor.
- Read labels: “F1” or “Hybrid” means the variety won’t breed true.
- Start small: Begin with a few reliable open‑pollinated varieties to learn selection.
- Pick strong parents: Choosing vigorous, disease‑resistant parent plants helps keep desirable traits.
Note variety names accurately on labels and record standout traits like earliness or flavor. Over time, selecting seeds from plants that thrive in your yard will improve performance and build a local line you can trust.
Know Your Species and Lifecycles to Prevent Cross‑Pollination
Timing matters: different life cycles change when and how you collect viable seeds.
Annuals finish their lifecycle in one season. Plants like tomatoes, peppers, and lettuce flower and set mature seeds before frost. That makes scheduling straightforward.
Biennials need cold treatment (vernalization) before they bloom. Carrots and onions often require overwintering or a fridge period to produce seed the next year. Expect an extra season for harvestable seed.
Perennials live several years and may not produce usable seed until maturity. Asparagus and apple trees need multi‑year planning and ongoing care.
Genus and species matter
Learn each crop’s genus and species to anticipate cross‑pollination risks. Closely related plants can interbreed and ruin variety purity.
| Crop Group | Common Examples | Cross‑Compatibility Notes | Best Approach |
|---|---|---|---|
| Annuals | Tomato, Pepper, Lettuce | Usually set seed in one season; many are self‑pollinating | Tag plants and schedule harvest within the season |
| Squash species | C. maxima, C. moschata, C. pepo | Generally do not cross between these species | Save seeds from different species simultaneously with less risk |
| Brassica oleracea | Broccoli, Cabbage, Kale, Collards | High cross‑pollination among varieties in this species | Plant one variety at a time or provide strong isolation |
- Map beds by species and bloom time to lower accidental crossing.
- Tag seed‑bound plants early so they aren’t harvested for food before ripening.
- When space is tight, plant only one variety per species to keep lines pure.
Patience pays off. Especially with biennials and perennials, expect extra time in the season or an additional year before you collect reliable seed. Keep species names on labels to guide your choices year after year.
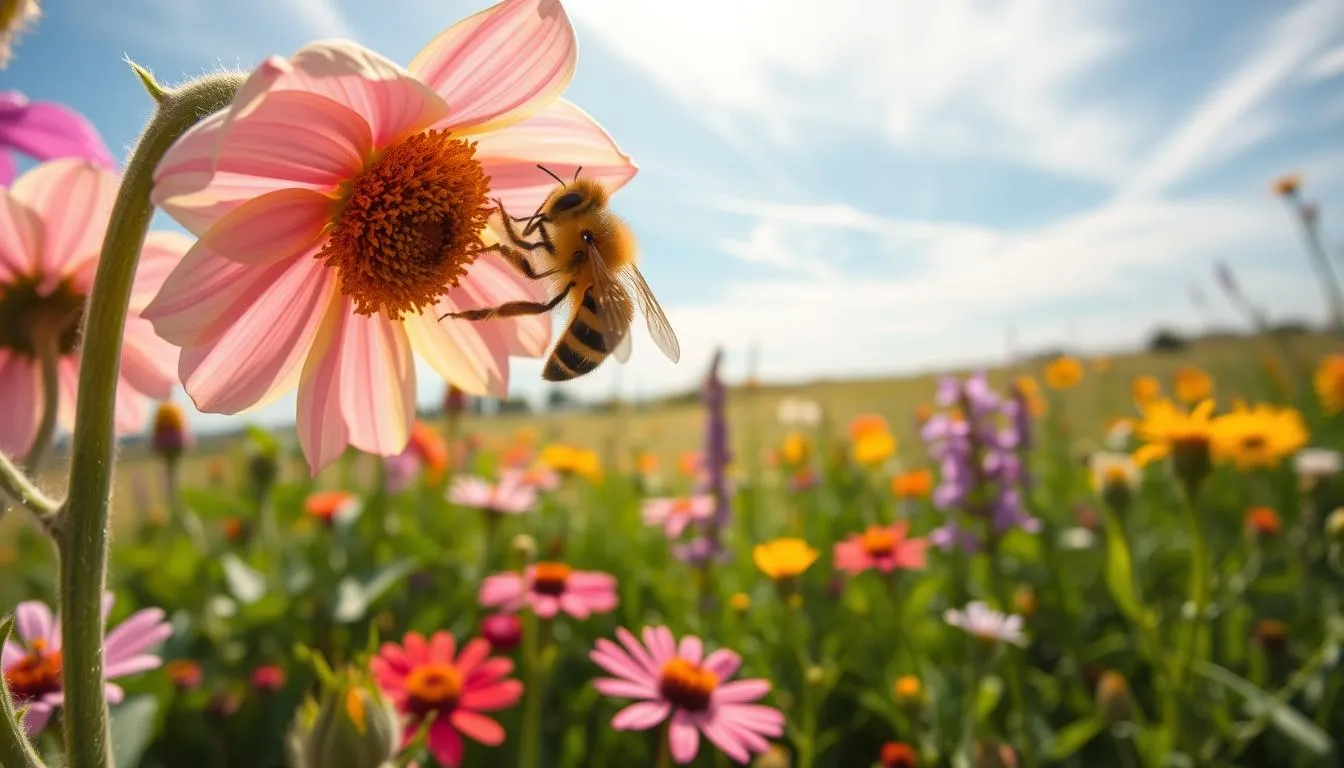
Pollination Basics: Selfers, Insect‑ and Wind‑Pollinated Crops
Knowing which crops pollinate themselves and which rely on visitors helps protect variety purity. That matters when you collect seeds for next season.
Self‑pollinating crops are the easiest for beginners. Many flowers pollinate before they open, so crossing is rare. Common safe bets include tomato, peas, and beans. Still, roaming insects can move pollen now and then, so watch nearby bloom overlap.
Managing insect and wind pollination risks
Insect‑pollinated crops such as cucurbits need more care. Wind‑pollinated species like corn and spinach spread pollen widely. Both types require distance or barriers to keep lines true.
- Observe pollinator activity and bloom timing for the plants you plan to harvest seeds from.
- Use blossom bags, row covers, or staggered plantings to reduce unwanted crosses.
- When space is tight, grow one variety per species and trial a single crop until you know local dynamics.
Keep clear notes on planting dates and bloom periods. Good records help you plan isolation next season and protect the traits you value.
Isolation Methods to Keep Varieties Pure
Keeping varieties pure starts with clear isolation choices and simple on‑site rules. Distance isolation is the gold standard because pollen travel varies by species and by whether pollination is insect‑ or wind‑borne.
Distance guidelines and small‑space workarounds
Recommended spacing ranges from about 10 feet for selfers to several miles for wind‑pollinated crops. When long distance isn’t possible, use practical alternatives.
- Mesh blossom bags or row covers block visitors during bloom.
- Cages or frames with fine netting limit pollen flow around whole plants.
- Stagger plantings so varieties of the same species do not bloom at the same time.
Barriers, hand‑pollination, and sealing tips
Hand‑pollination works well for insect‑pollinated crops. Bag unopened flowers first. Gently transfer pollen with a brush. Rebag and seal with a twist tie or clip until seeds set.
Remove or move wild volunteers of the same species. If space is tight, grow one variety per species that season — often the easiest way to guarantee purity.
| Crop type | Typical distance | Practical tip |
|---|---|---|
| Self‑pollinators | 10–30 ft | Bag key flowers |
| Insect‑pollinated | 50–300 ft | Hand‑pollinate & rebag |
| Wind‑pollinated | 1000+ ft | Distance or isolation plots |
Combine methods for high‑value lines: moderate distance plus bagging or timing gives extra assurance. Note bloom dates on plant tags to refine future plans. Try one method, assess results, and adjust — patience yields purer seeds over time.
Market Maturity vs. Seed Maturity: Harvest at the Right Time
Let a few plants run past market ripeness to collect reliable seeds. Produce picked for the table is often harvested earlier than when seeds finish development. Waiting one extra week—or even longer—can mean the difference between immature and viable seed.
Visual cues for cucumbers, melons, peppers, and squash
Cucumbers used for seed are left until they turn yellow and the skin feels tough. At that point the internal seeds are fully formed.. Coordinate your saved seeds with seasonal planting schedules for succession growing
Peppers reach seed maturity when the fruit attains its final color and firmness. Let them ripen fully on the plant before harvesting.
Squash seeds mature as the rind hardens. A short cool cure in storage can help seeds finish drying and improve harvest quality.
Melons can yield good seeds from fruits picked for eating, but slightly softer, vine‑ripened fruit often gives larger, more mature seeds.
When to let crops bolt and practical tips
Lettuce will bolt and set seed about 2–3 weeks after flowering; you’ll see feathery “parachutes” that signal harvest time.
Biennial roots like carrots and onions must overwinter or be vernalized to bolt and produce seed in a later season.
- Tag select plants early so they pass market maturity undisturbed.
- Use color, firmness, and ease of detachment as quick ripeness checks.
- Dedicate part of each crop to seed so you can still enjoy fresh eating now.
Patience pays off: harvesting too early yields immature, poorly viable seed. Note timing cues each season to refine your harvest and keep plants producing at their best.
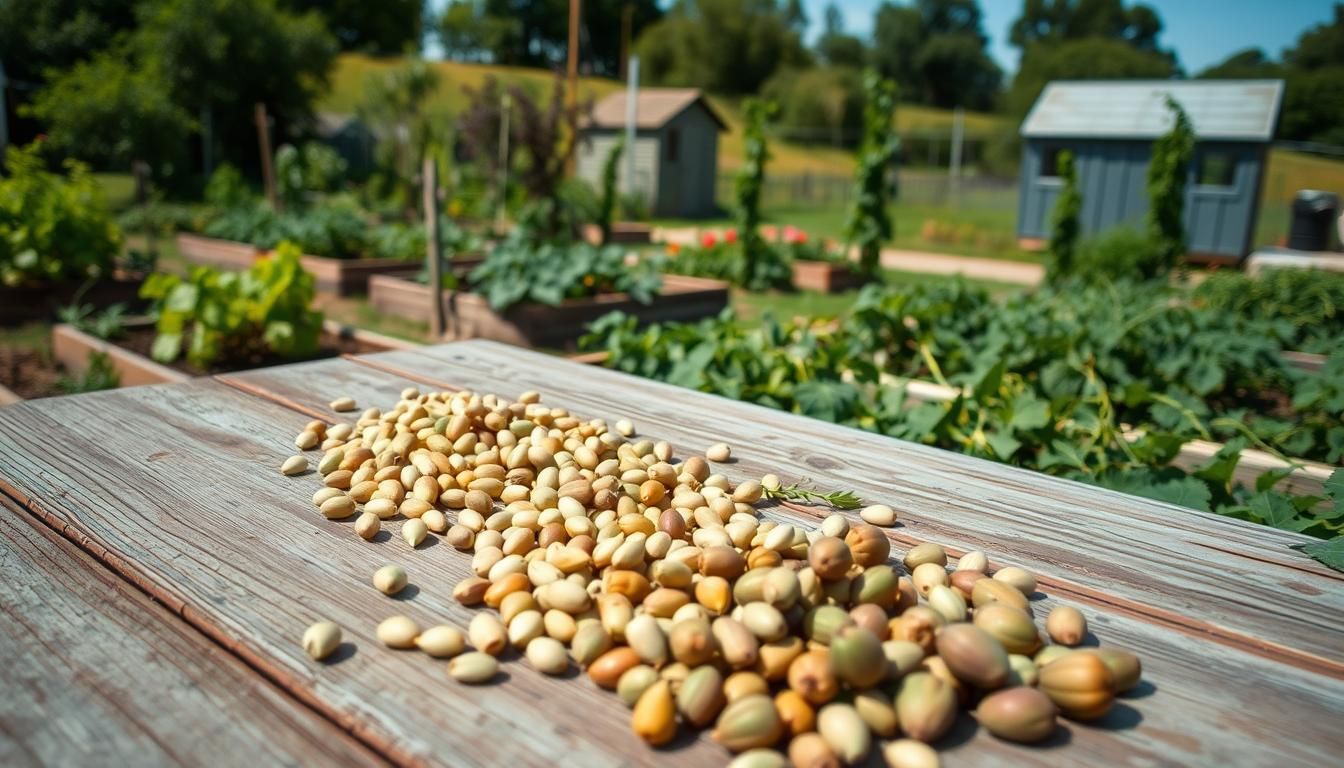
Step‑by‑Step Dry Seed Processing for Beans, Peas, Lettuce, and Flowers
Work in small batches to keep dry processing tidy and effective. Start by harvesting only fully mature pods and seed heads. This minimizes mixups and keeps quality high.
Harvest, dry, thresh, screen, and winnow
Harvest cues are simple: beans and peas should be brown and brittle on the plant, with very hard interiors. Lettuce heads can be cut when the fluff appears. Collect gently to avoid losing tiny kernels.
Finish drying on trays, screens, or in mesh bags in a cool, dark spot with good airflow. This helps keep seeds dry and prevents mold.
Threshing and gentle cleaning
Thresh by gently beating, rubbing, or treading to dislodge seeds. For delicate flowers, rub lightly in a clean bowl to avoid crushing the kernels.
Use a clean sheet or paper under plants while threshing to catch material and make pouring into containers easy. Keep labeled piles so varieties don’t mix.
Screening, winnowing, and dryness checks
Screen with colanders or hardware cloth to sort sizes and remove chaff. Winnow by using a gentle breeze or fan; lightweight debris blows away while heavier seeds fall back.
Seeds are completely dry when they snap or shatter. For beans, try the fingernail test: fully dry beans resist denting. When seeds dry, store them in airtight jars with clear labels.
| Step | Tool | Quick tip |
|---|---|---|
| Drying | Trays, mesh bags | Cool, dark, ventilated area to keep seeds dry |
| Threshing | Bowls, paper, gentle beaters | Use paper to collect material and avoid spills |
| Cleaning | Colanders, hardware cloth, fan | Screen by size, then winnow with a soft air current |
| Final check | Fingernail, visual snap test | Only store when seeds snap or resist indentation |
Wet Seed Processing and Fermentation for Tomatoes, Cucumbers, and Melons
Wet processing begins by scooping ripe pulp and seeds into a clean jar and adding a little water. Cover loosely and keep the jar in a cool, shaded place for 1–3 days.
Fermentation timeline, decanting, and rinsing
Stir the mix daily. Fermentation breaks down the gelatinous coat around many seeds and helps split pulp from viable seeds.
After 1–3 days, floating material and rotten bits rise. Decant gently to remove that layer while leaving heavier, viable seeds on the bottom.
When to skip decanting
Tomato seeds typically sink and benefit from decanting. Some cucumbers and certain squash or melon seeds float; for those, skip decanting and rely on thorough rinsing through a fine‑mesh strainer.
- Rinse until clear water runs through the strainer.
- Spread seeds thinly to dry and label the jar with crop, variety, and date while fermenting.
- Use jars with loose lids or fermenting lids to deter fruit flies.
| Step | Time | Quick tip |
|---|---|---|
| Ferment | 1–3 days | Keep shaded; stir daily |
| Decant | After fermentation | Pour off floats; keep sinkers |
| Rinse & dry | Same day | Fine mesh strainer; dry thinly |
Note: Stop fermentation as soon as gel breaks down. Over‑fermentation can harm embryos. Once fully dry, store airtight to keep viability.
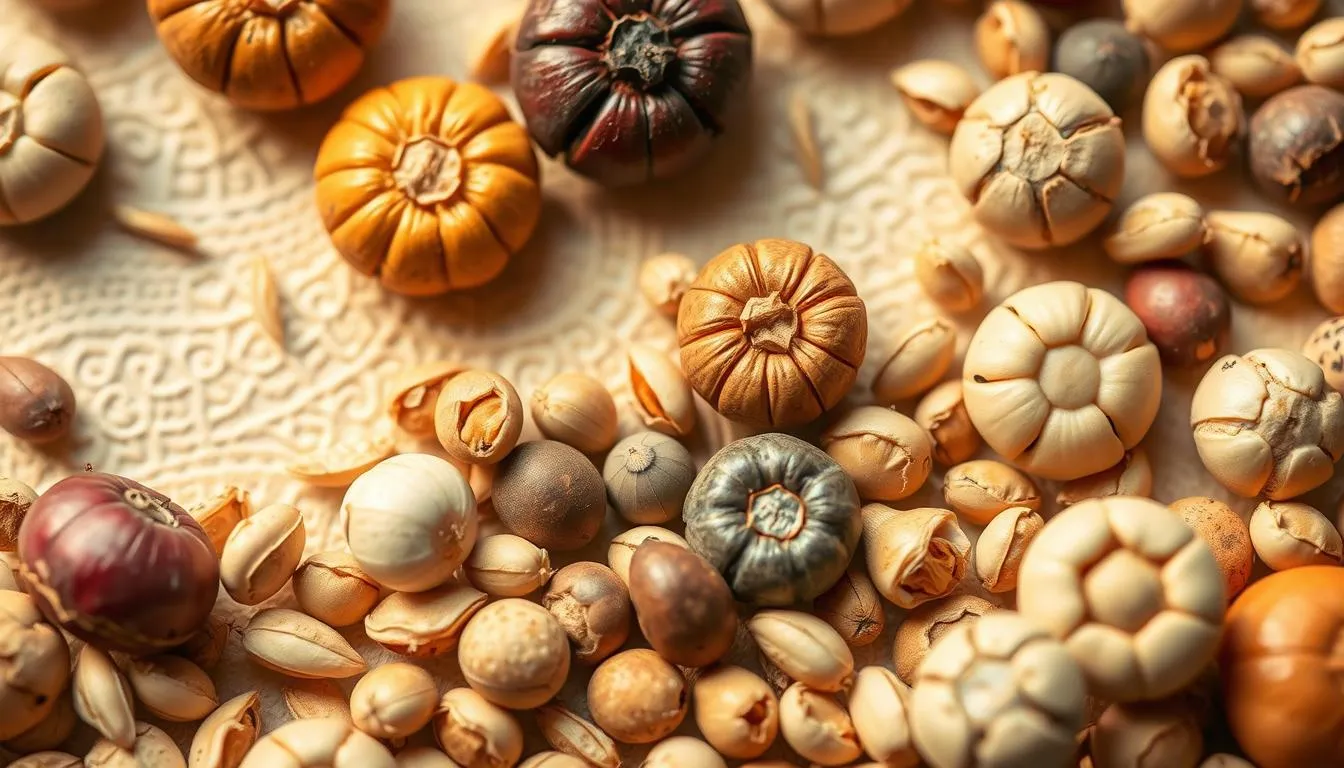
Quick Crop Guides: From Tomatoes and Peppers to Squash, Okra, and Beans
This quick reference gives clear, step-by-step cues so you know when and how to collect viable seeds from common garden crops.
Tomato — Scoop the pulp and gel into a jar and ferment for two to three days. Good seeds sink; decant the floaters, rinse the sinkers, and dry in a thin layer until crisp.
Peppers — Wait until full color and slight wrinkling. Remove the interior, spread seeds on a plate or screen, and air‑dry in good airflow.
Squash & pumpkins — Harvest fully mature fruit with hard rinds. Scoop out seeds and dry them—no fermentation needed.
Beans & peas — Let pods turn brown and brittle on the vine. Shell when dry; the seeds should feel rock‑hard before storage.
Cucumbers & melons — If seeds have a gel coat, use the same wet processing as tomatoes. Choose fully ripe fruit for best results.
Okra & lettuce — Allow okra pods to dry on the plant and shake out seeds. For lettuce, wait about two to three weeks after flowering until fluffy “parachutes” form.
- Label each batch with crop, variety, and harvest date immediately.
- Dry seeds in a single layer on non‑stick screens, turning once over several days.
- Set aside your best-performing plants for future selection and improved vigor.
- Check dryness: seeds that bend or squish need more time before storage.
Drying, Moisture, and Storage: Keep Seeds Viable for Years
Small choices—airflow, dryness, and a cool place—determine if seeds last. Aim for about 8% moisture. A quick check: seeds should snap or shatter instead of bending.
Dry evenly: Spread material in a thin layer with steady airflow. Rotate trays occasionally so all seeds dry the same. Do not seal jars until seeds are completely dry; trapped moisture invites mold.
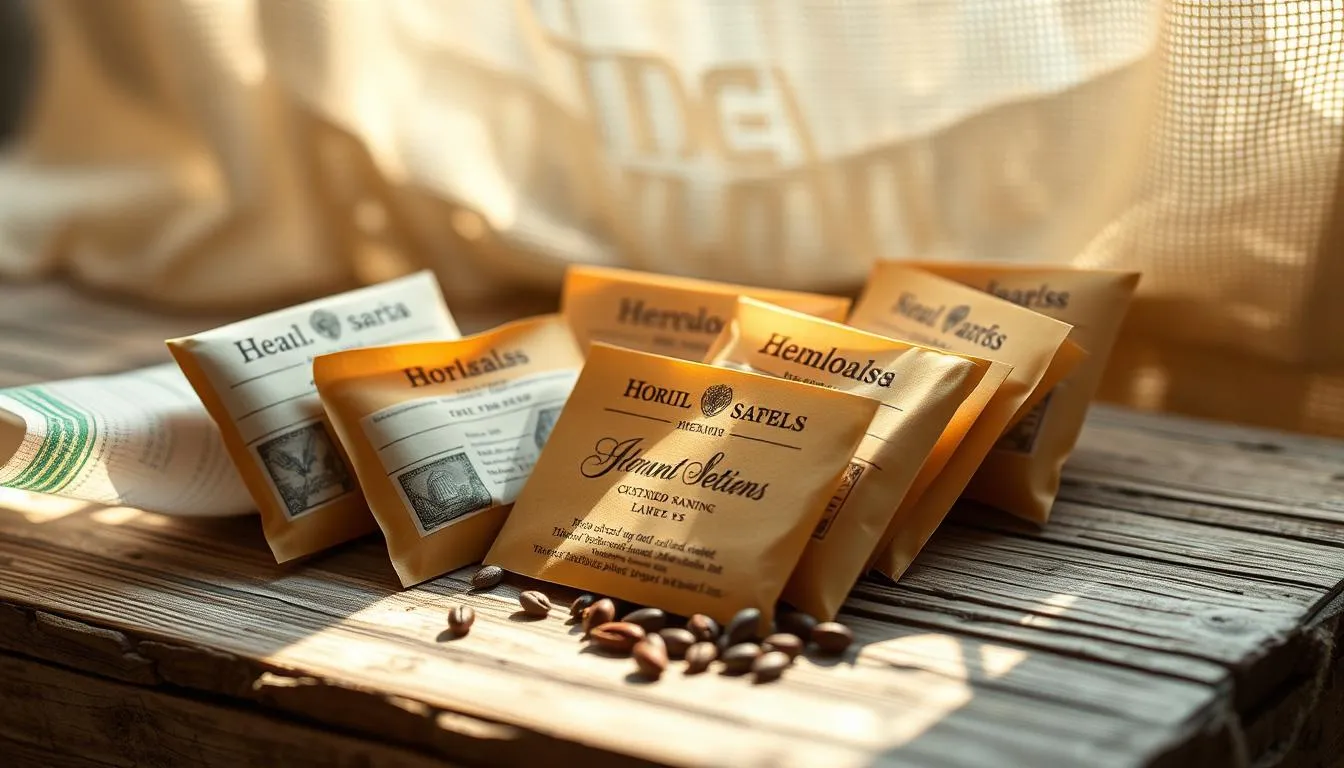
How to store and label for long life
Use airtight jars or sealed packets in a cool, dark, dry place. Add silica gel or other desiccants to control humidity. Refrigeration or freezing will extend longevity, but only after seeds are fully dry and containers are airtight.
- Label each jar with crop, variety, harvest date, and parent notes on a slip of paper inside.
- Group packets by season and crop type for easy planning next year.
- Return cooled, sealed containers promptly to storage after handling to avoid condensation.
“Keep seeds cool and dry; that simple rule protects viability and preserves hard-won selections.”
Seed Longevity and Viability: Testing and Rotation
A simple paper towel test tells you if your batch will perform this year.
Germination test with damp paper towels
Quick check: place about ten seeds on a damp piece of paper, fold it, and seal in a clear bag. Keep the bag warm and out of direct sun for several days.
Count sprouts after 5–10 days. If seven or more germinate (70%+), the lot is good for the year. Focus your seed saving efforts on native species seed collection and storage. Fewer than seven means sow thicker or replace the lot this season.
Short‑lived vs. long‑lived lots
Some crops lose vigor faster. Onions and carrots tend to be short‑lived in storage, while tomatoes and beans often remain viable for many years when kept cool and dry.
| Crop group | Typical longevity | Tip |
|---|---|---|
| Onions & carrots | 1–2 years | Test before sowing; increase sowing rate if low |
| Tomatoes & beans | 4–6+ years | Store airtight; check every few years |
| Others | 2–4 years | Rotate and test annually |
- Rotate stock by using older lots first to reduce waste over the years.
- Write test dates and germination % on packets to set sowing rates accurately.
- Keep consistent storage: cool, dark, dry with stable moisture control to extend life.
“Testing a small sample protects your time and garden space by avoiding low‑germination disappointment at planting.”
Finally, set a calendar reminder a few weeks before planting to test critical lots. Share surplus viable seeds with neighbors — gardeners benefit when community stocks stay active. Reseal and return remaining material to storage promptly after testing to preserve quality.
Seed‑Saving Practices in Action: Seasonal Workflow and Community Sharing
Start each season by marking a few plants to protect for future planting and selection. This simple act makes the rest of the workflow easier and more reliable.
Seasonal workflow: designate plants, monitor bloom and maturity, process, dry, label, store, and test. Repeat the cycle each season to build a trusted collection you can use and share.
Reduce waste: damaged or overripe fruit are often perfect for saving seeds. Examples include insect‑scarred tomatoes, sun‑scalded peppers, and oversized okra left on the plant.
Organize and share
Label packets with crop, variety, harvest date, and notes on disease resistance or flavor. Join local swaps, seed libraries, or national networks to exchange material and knowledge.
| Step | What to do | Quick tip |
|---|---|---|
| Designate | Mark plants early | Use tags with variety name |
| Process | Harvest and dry | Use trays and airflow |
| Label & store | Jar or packets | Include notes on performance |
| Share | Swap or library | Bring labeled packets, take adapteds |
“Share a few packets from your best performers and take home varieties suited to your place.”
Start small: set one goal this season—save seeds from one crop and join a swap. That builds confidence and grows community resilience.
Conclusion
Finish the year strong: label, test, and tuck away your best batches for spring planting.
Recap the journey: choose open‑pollinated or heirloom varieties, plan isolation to avoid cross‑pollination, and select parents that show the traits you want to keep.
Harvest at true maturity, use the right wet or dry method, then dry until seeds snap. Store jars in a cool, dark spot to control moisture and extend viability.
Test older lots on damp paper to check germination, rotate stock by year, and note parent plants, variety names, and timing cues. Start small—save seeds from one favorite crop, label it well, and share a packet at a local swap to grow community collections.
FAQ
What are the main benefits of saving seeds at home?
Saving seeds helps your garden become more resilient, lowers annual costs, and protects plant diversity. You develop varieties adapted to your microclimate, preserve heirloom traits, and build a small genebank of favorites to swap with neighbors or local libraries. It also reduces waste by reclaiming seeds from fruits, vegetables, and flowers you already grow.
Which plants are easiest for beginners to collect seeds from?
Start with self‑pollinating crops like tomatoes, peas, and many beans because they rarely cross. Lettuce, flowers such as calendula, and dry‑pod crops like beans and peas are forgiving. These crops require minimal isolation and simple drying, threshing, and storage steps.
Are hybrid (F1) varieties good for seed collection?
Hybrids often produce unpredictable offspring; saved seed will segregate and show mixed traits, so they aren’t ideal if you want true‑to‑type plants. For consistent characteristics, choose open‑pollinated or heirloom varieties when building a reliable collection.
How do I prevent cross‑pollination between similar crops?
Use distance isolation, physical barriers like mesh, or stagger flowering times. For high‑risk genera such as squash (Cucurbita) and Brassica species, hand‑pollinate and bag flowers or grow only one variety at a time to maintain purity.
When is the right time to harvest seeds from fruits like tomatoes, cucumbers, and melons?
Wait until seeds reach botanical maturity—often when fruit is overripe. For tomatoes, allow two to three days of fermentation after scooping seeds to remove gel. Cucumbers and melons need fully ripe flesh so seeds are plump. Peppers should show mature color before air‑drying.
What’s the difference between dry and wet processing methods?
Dry processing works for peas, beans, and many flowers: let pods brown, dry, then thresh and winnow. Wet processing (fermentation) suits tomatoes, cucumbers, and melons to remove pulp. Fermentation also helps clean and sometimes improves germination for certain species.
How can I tell if seeds are completely dry and ready for storage?
Seeds are ready when they snap or shatter (not bend) and feel brittle. Small seeds should not clump. Aim for low moisture—around 8% when possible. If unsure, use oven‑based low‑heat drying or silica desiccants briefly, then test by sealing in an airtight jar to watch for condensation.
What’s the best way to store seeds long term?
Store in cool, dark, and dry conditions using airtight containers with desiccants. Label each package with crop, variety, and year. Refrigeration extends longevity for many species, but avoid repeated temperature swings. Keep seeds away from insects and rodents.
How do I test seed viability before planting next season?
Perform a germination test by placing a sample of seeds between damp paper towels, keep warm and check sprouting over several days to weeks, depending on species. Record germination rate and plan to sow extra if viability is low.
Which crops have shorter shelf life and need faster turnover?
Onion and carrot seeds lose vigor faster and benefit from yearly renewal. Lettuce and parsley also decline sooner. In contrast, tomato, bean, and pea seeds often remain viable for several years when stored correctly.
Can I use partially damaged fruit for collecting seeds?
Yes—use undamaged portions of fruit if seeds are mature. Avoid seeds from diseased or insect‑infested areas. Clean and dry seeds thoroughly; fermentation can help sanitize tomato seeds taken from imperfect fruit.
How do community seed swaps and libraries work?
Gardeners bring labeled, tested seeds to swap events or deposit them in community seed libraries. Share variety notes, germination rates, and growing tips. This local exchange builds diversity and connects you with gardeners who have adapted lines to your region.
Are there legal or safety concerns when saving seeds from store‑bought produce?
Seeds from supermarket hybrids will likely not breed true. Also, seeds from patented or proprietary varieties may have restrictions. For food safety, avoid saving seeds from produce treated with unknown chemicals; prefer home‑grown or certified organic sources when possible.
What tools and supplies make processing and storage easier?
Useful items include mesh bags, paper envelopes, screens for winnowing, airtight jars, silica gel packets, permanent labels, and small seed scales or containers. For wet processing, use glass jars for fermentation and fine sieves for rinsing.
How do I keep records to improve my collection over time?
Keep a simple log with variety names, source, year collected, parent plant notes (height, disease resistance, flavor), germination test results, and storage location. These notes help select the best lines and plan rotation to refresh short‑lived varieties.