Surprising fact: many raised beds with a hidden reservoir can cut routine watering to once every few weeks, even months in mild climates.
This guide shows an easy way to make a reliable container that feeds roots from the bottom, using capillary action from a water reserve under the soil.
You’ll learn about proven components like fish-safe pond liner, perforated drain pipe capped with landscape fabric, and a PVC fill tube. A 2:1 vermiculite-to-peat-moss wick layer sits above the reservoir, topped with potting mix for healthy plants.
Practical tips include folding liner at corners instead of cutting, ensuring tight pipe fits to prevent leaks, and placing overflow or weep outlets so the reservoir never overfills.
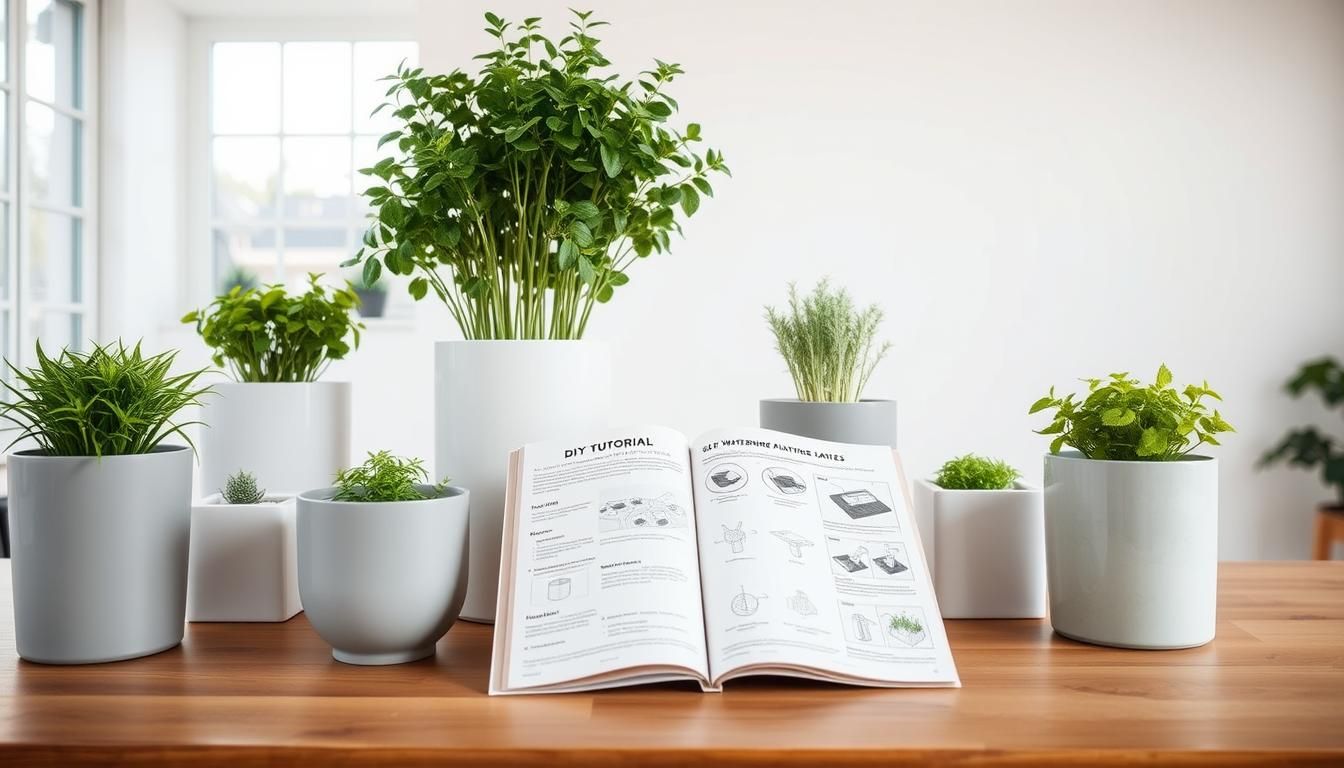
The following pages cover three project ideas—a raised box, a converted decorative planter, and a simple bucket—so you can pick the best approach for your space and budget.
Key Takeaways
- Reservoir systems feed roots from the bottom and save time on watering.
- Use pond liner, perforated pipe, and a fill tube for reliable results.
- Wick layers with vermiculite and peat improve capillary action.
- Fold liners, seal pipe joints, and add an overflow to avoid leaks.
- Three project types fit different budgets and spaces.
Why self‑watering planter builds are the easy way to garden smarter
When water sits in a bottom reservoir, capillary action pulls moisture up, cutting routine trips with a hose. Sub-irrigation places a reserve beneath the soil so the root zone stays evenly damp while the top layer stays relatively dry.
A visible weep hole at reservoir height prevents overfilling and acts as a simple gauge—once water appears, the container is full. Adding water through a dedicated fill tube sends water straight to the bottom without disturbing soil or plants.
That steady moisture encourages roots to grow deeper and reduces surface pests and some weed pressure along the sides. Good drainage in the reservoir and a properly placed overflow protect roots from saturation.
These systems scale from small pots to large raised boxes and make gardening forgiving for busy people. They cut daily watering chores and keep plants healthier during heat spikes.

| Feature | Benefit | Practical tip |
|---|---|---|
| Bottom reservoir | Longer intervals between refills | Use a fill pipe for easy top-ups |
| Weep / overflow hole | Prevents overfill and shows full level | Drill at the correct height; test with water |
| Wicking layer | Consistent moisture to roots | Use vermiculite + peat for capillary action |
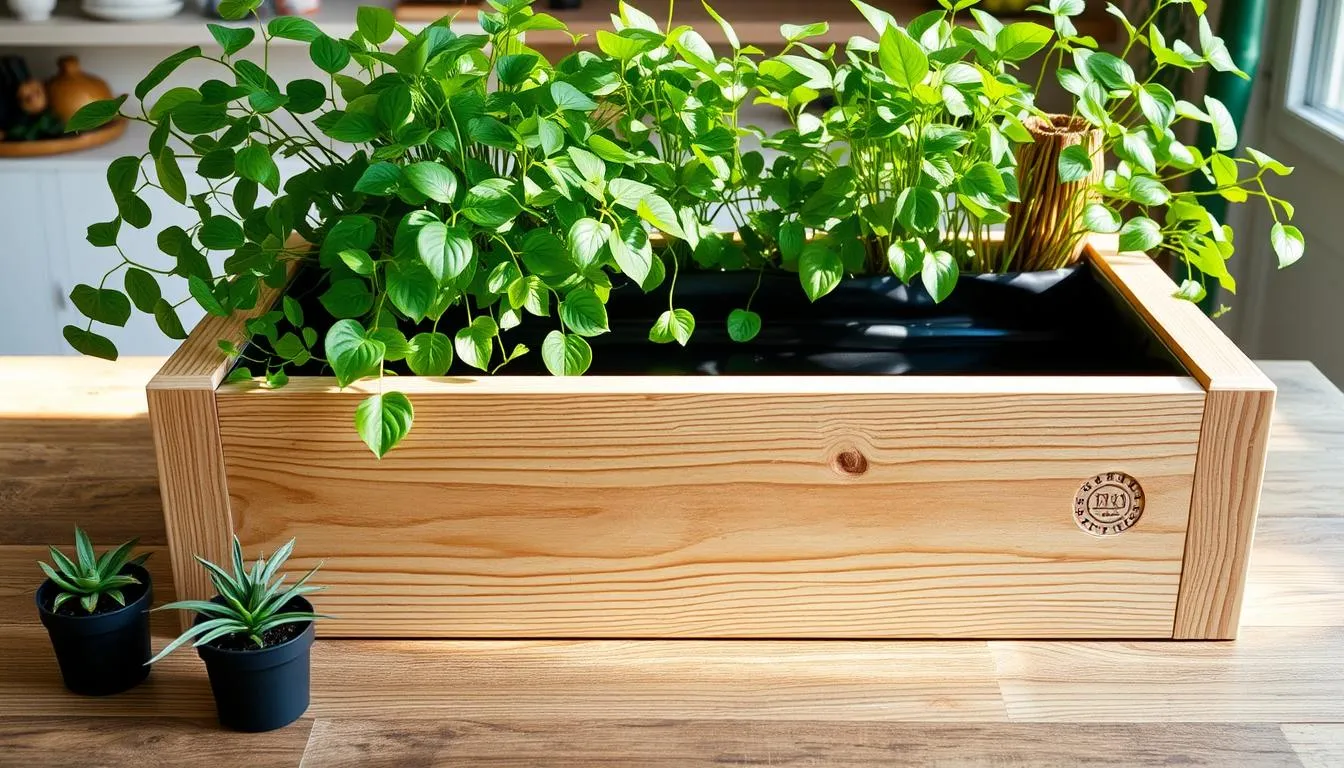
DIY self-watering planter: Step-by-step raised box build with pond liner and perforated drain pipe
Plan and prep with accurate cuts and sturdy joinery so the box holds heavy, wet media without racking. Choose exterior lumber—cedar or redwood for durability, Douglas fir to save money—and assemble a square base that supports both the top container and the bottom container reservoir.
Line the interior using fish-safe pond liner. Fold corners instead of cutting and staple the liner along the sides to keep the barrier watertight. This simple step helps avoid leaks where the liner meets the wood.
Create the reservoir by laying multiple lengths of corrugated perforated drain pipe across the bottom. Cut pieces to span the width so they sit snug; an enough fit prevents shifting under load.
Cap each pipe end with landscape fabric and tape to keep soil out while letting water move. Fit a PVC fill tube into a slit in one pipe, trimming the tube bottom at an angle for smooth flow. Then drill a 3/4-inch overflow hole near the bottom corner; pass the hose through a small liner slit and seal it well so the wood stays dry.
Backfill between and over pipes with a 2:1 vermiculite-to-peat moss blend to promote wicking, then add potting soil to the top container depth. First fill and test by adding water through the PVC until it appears at the overflow hole—this confirms the bottom container is full and working across the entire container.
How to convert an existing planter to self watering
Convert a decorative container by sealing its base and installing a central wick column. This retrofit works for urns, ceramic pots, and tall decorative vessels.
Seal drainage holes to form the reservoir
Plug factory drainage holes with a rubber stopper or silicone cap. Fill the bottom cavity with water to verify the seal holds before proceeding.
Cut a shelf and a centered hole for the wicking column
Fit or make a sturdy shelf from exterior-grade plywood. Cut a centered hole slightly smaller than a 4” perforated drain pipe so the shelf rests on the pipe for support.
Build the wicking column
Wrap a 4” perforated drain pipe in a mesh sock and tie off the bottom. Leave extra fabric at the top so the sock overlaps the shelf opening.
Pack the pipe tightly with soil so capillary action can pull moisture up to roots. Compacting the column reduces settling and keeps wicking steady.
Install a PVC fill pipe and seal seams. Apply self-watering principles to vertical herb walls with integrated watering
Run a vertical PVC pipe from the rim into the reservoir for easy top-ups. Silicone every penetration and seam to prevent hidden leaks—make sure each joint seals well.
Drill a weep hole and finish
Drill a small weep hole on the side just below shelf level. When water shows at this hole the bottom container is full; the outlet prevents overfill.
- Seal drainage holes and test for leaks.
- Install shelf, cut hole, and seat the wrapped 4” pipe.
- Add the PVC fill tube and silicone all penetrations.
- Drill the weep hole, backfill the chamber with soil, and compact the column.
- Plant, then add water through the fill tube until the weep outlet spills.
Tip: If you want step-by-step photos and a full project guide, see this diy self-watering resource for extra detail.
Quick and easy bucket self watering planter using a bottle wick
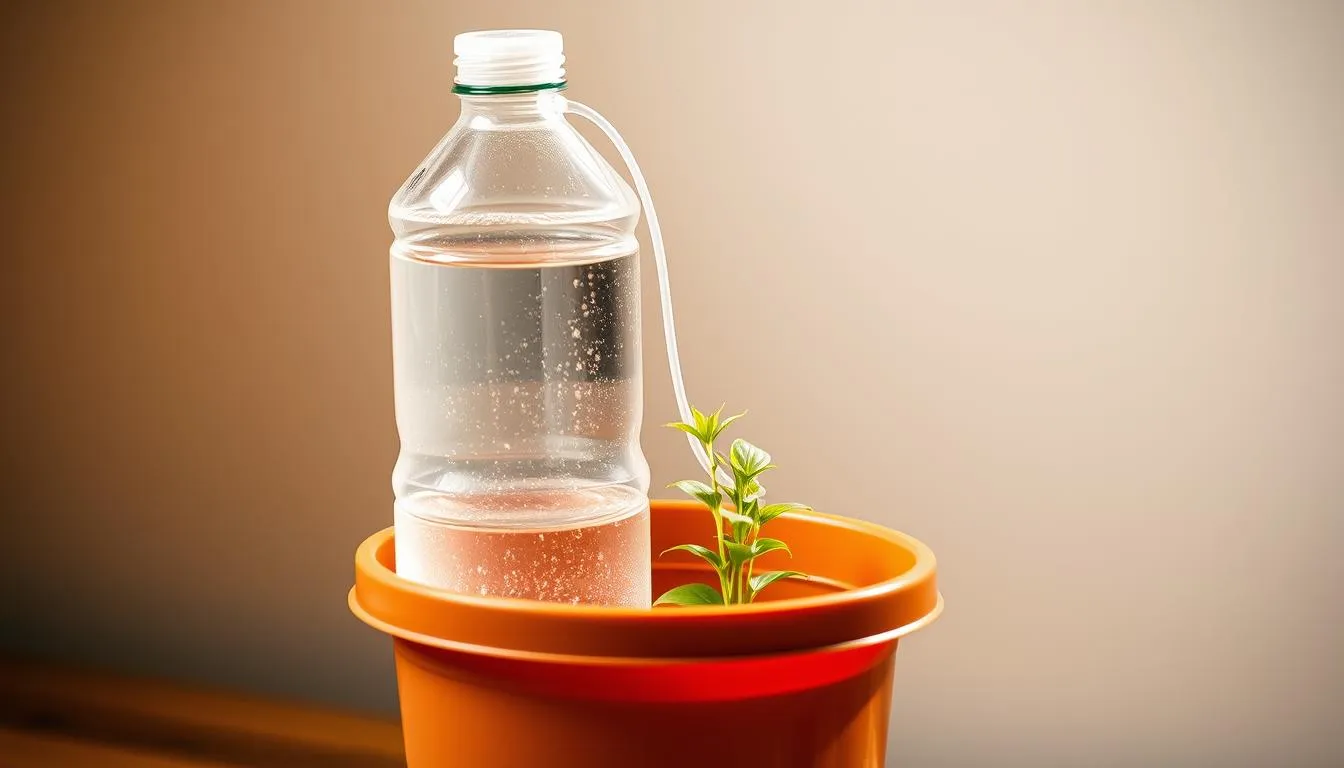
Turn a common bucket into a bottom-fed container by cutting a bottle to form a dense wick and adding a side fill pipe. This budget-friendly method uses items you likely have on hand and keeps watering chores minimal.
Make the wick: cut a sturdy plastic bottle to about one-quarter of the bucket height. Poke many small holes in the sides and bottom so the piece can exchange water freely. Line the bottle interior with a large square of window screen and pack soil tightly inside the screen to form a dense core.
Assemble the reservoir and finish
Center the wick in the bucket and add a side fill pipe. Pour washed rocks around the wick up to the wick’s top and fold the screen over the rocks to separate the coarse reservoir from soil.
Drill a small drain hole in the bucket wall just below the top of the wick so overfilling cannot flood the main soil chamber. Add soil from the center outward, set the plant, and backfill to the top.
- Prime the system: water the top once to settle soil, then add water through the fill pipe until it appears at the side drain.
- Cut hole for the fill tube carefully and keep it snug so the pipe has a good enough fit.
- This container design supplies steady water bottom feeding the wick while keeping the top relatively dry.
Need more step-by-step photos? See a full project guide for a similar build at how to make a self-watering container.
Self‑watering planter builds: tools, materials, and sizing tips
Before cutting wood or liner, gather the core tools and check pipe sizes against your design. That small step saves time and prevents mistakes when you cut holes or set the fill tube.
Essential tools
- Cutting & drilling: power drill/driver, hole saws (1-1/4”–1-1/2”), jigsaw, miter saw.
- Measuring & fastening: tape measure, marker, Kreg jig (optional), staple gun, exterior screws.
- Finishing: utility knife, scissors, silicone sealant, duct tape.
Materials checklist & sizing tips
Plan materials around a 4” corrugated perforated drain pipe reservoir and a 1”–2” pvc pipe fill tube. Use landscape fabric or mesh socks over pipe ends to keep soil out.
Soil profile: a 2:1 vermiculite-to-peat layer above the bottom reservoir, topped with quality potting soil, improves capillary lift.
- Choose cedar or redwood for long life; Douglas fir saves money. Isolate pressure-treated wood with the pond liner.
- Size the reservoir to match plant water use — bigger stores last longer between refills.
- Dry-fit parts, mark hole locations, and test alignments before final assembly. Note part sizes and keep links to replacement items for easy maintenance.
For a low-cost design and extra assembly photos, see the low-cost design guide for ideas and step-by-step reference.
Maintenance, troubleshooting, and pro tips for watering from the bottom
Simple routine checks keep a bottom-fed system running and your plants healthy all season.
How often to fill: Watch the overflow point. Add water until it appears at the weep hole; that confirms the reservoir is full. Track the time between fills to learn how long a full reservoir lasts in your climate.
Prevent root rot: set the weep outlet exactly at the reservoir ceiling. Too high floods the soil; too low steals capacity and shortens refill intervals. Also check drainage holes and test flow after each refill.
Common mistakes and fixes: Never cut pond liner corners—fold them. Make sure pipe joints feel snug and that pipe ends are wrapped in fabric to keep soil out. If you see cloudy water or silt in the base, replace torn fabric and reseat the pipe.
If plants wilt even with a full reservoir, check the wicking path and compact the wick column. In cold snaps, leave headspace to reduce freeze pressure. Log refill intervals and plant response and you’ll fine-tune the system fast.
Conclusion
Conclusion
These three clear paths let you make a practical diy self-watering planter: a raised-box with folded liner and multiple perforated pipe pieces, a conversion with a wrapped 4” wicking column and PVC fill tube, or a quick bucket option using a bottle wick and rock reservoir.
The core pieces repeat: a sealed bottom container, a reliable wicking path, a PVC pipe fill tube, and an overflow set at reservoir height to protect the soil in the top container.. Fill your self-watering systems using rainwater collection for planter reservoirs
Pick the way that matches your tools, budget, and time. Start small if you’re new to cutting and sealing, then step up to the raised box once you’re comfortable with the steps.
Maintain with quick visual checks at the overflow and keep notes and links for parts. With a clean build and steady bottom water delivery, your plants gain consistent moisture and you reclaim valuable time.
FAQ
How does a bottom-fill reservoir keep plants hydrated?
A bottom-fill reservoir holds water beneath the soil so roots pull moisture up through capillary action. A perforated drain pipe or wicking column spreads water across the base, while landscape fabric and a soil mix with peat or vermiculite help distribute moisture evenly. An overflow (weep) hole prevents overfilling.
What materials do I need to convert a standard container into a reservoir system?
You’ll need pond liner to seal the lower chamber, a length of 4” perforated drain pipe or a wicking column with a mesh sock, PVC for a fill tube, landscape fabric, potting mix, and basic tools: drill with hole saw, jigsaw or utility knife, and silicone or marine sealant for seams.
Where do I place the weep or overflow hole and why is it important?
Drill the weep hole just below the shelf or soil level that separates the reservoir from the plant bed. This sets the maximum water height so roots get oxygen and avoid sitting in water, which reduces the risk of root rot.
How do I test a new reservoir before planting?
After sealing the lower container with pond liner and installing the pipe, fill through the PVC fill tube until water reaches the overflow. Check for leaks, seconds-long drainage through the weep hole, and that the water level holds steady for at least 24 hours before adding soil and plants.
Can I use a plastic bucket or tote for an easy DIY version?
Yes. Use a sturdy bucket, add a bottle wick or a small perforated pipe across the bottom, line with landscape fabric and pebbles, and install a side fill tube. Drill a weep hole at the correct height and use pond liner if needed to ensure the lower chamber stays watertight.
How often should I refill the reservoir?
Frequency depends on plant type, pot size, and weather. Check the fill tube or water level at the overflow weekly at first. Containers in full sun may need refilling every 5–10 days; shaded or large soil volumes often go longer between fills.
What potting mix works best for bottom-fed systems?
A mix that holds moisture but drains well is ideal: quality potting soil blended with peat moss or coco coir and perlite or vermiculite. Avoid heavy garden soils that compact; they reduce capillary action and increase disease risk.
How do I prevent algae or mosquito problems in the reservoir?
Keep the reservoir light-tight by using opaque liners or covering the fill tube. Fit mesh over the fill opening to block insects. Regularly clean and flush the reservoir between plantings, and avoid standing water on the surface.
What are common mistakes when making a reservoir planter?
Frequent errors include cutting the pond liner too short, leaving loose pipe fittings, placing the weep hole too low or too high, and skipping landscape fabric. Each can cause leaks, poor wicking, or root-suffocation issues.
Can I retrofit large wooden raised boxes with a reservoir system?
Yes. Build a false bottom or shelf, line the lower section with pond liner, install a perforated drain pipe and a side PVC fill tube, then drill the weep hole at shelf height. Seal seams with silicone and add the soil profile recommended for raised beds.
Are there size rules for the reservoir and fill pipe dimensions?
No strict rules, but larger containers need a proportionally larger reservoir and wider pipe for even distribution. A 4” perforated drain pipe works well for most raised boxes; use a 1”–1.5” PVC fill tube for easy top filling.
How do I build a reliable wicking column for deeper pots?
Use a 4” perforated drain pipe wrapped in a mesh sock or window screen, sit it centered through a shelf or hole, and surround it with coarse material like gravel or hydroton to keep channels open. Cover with landscape fabric before adding soil so the column delivers water evenly into the root zone.
What maintenance should I perform seasonally?
Inspect seals, pipes, and the weep hole for clogs or leaks. Flush the reservoir and refill lines, replace degraded pond liner or fabric, and refresh potting mix as needed. Winterize by draining and storing removable components in freezing climates.
Will bottom-fed containers reduce watering time and water use?
Yes. They supply moisture where roots need it, cutting surface evaporation and lowering total water use. They also extend intervals between fills, saving time for busy gardeners while improving plant resilience during dry spells.